Adapted from a Donna Hay Recipe
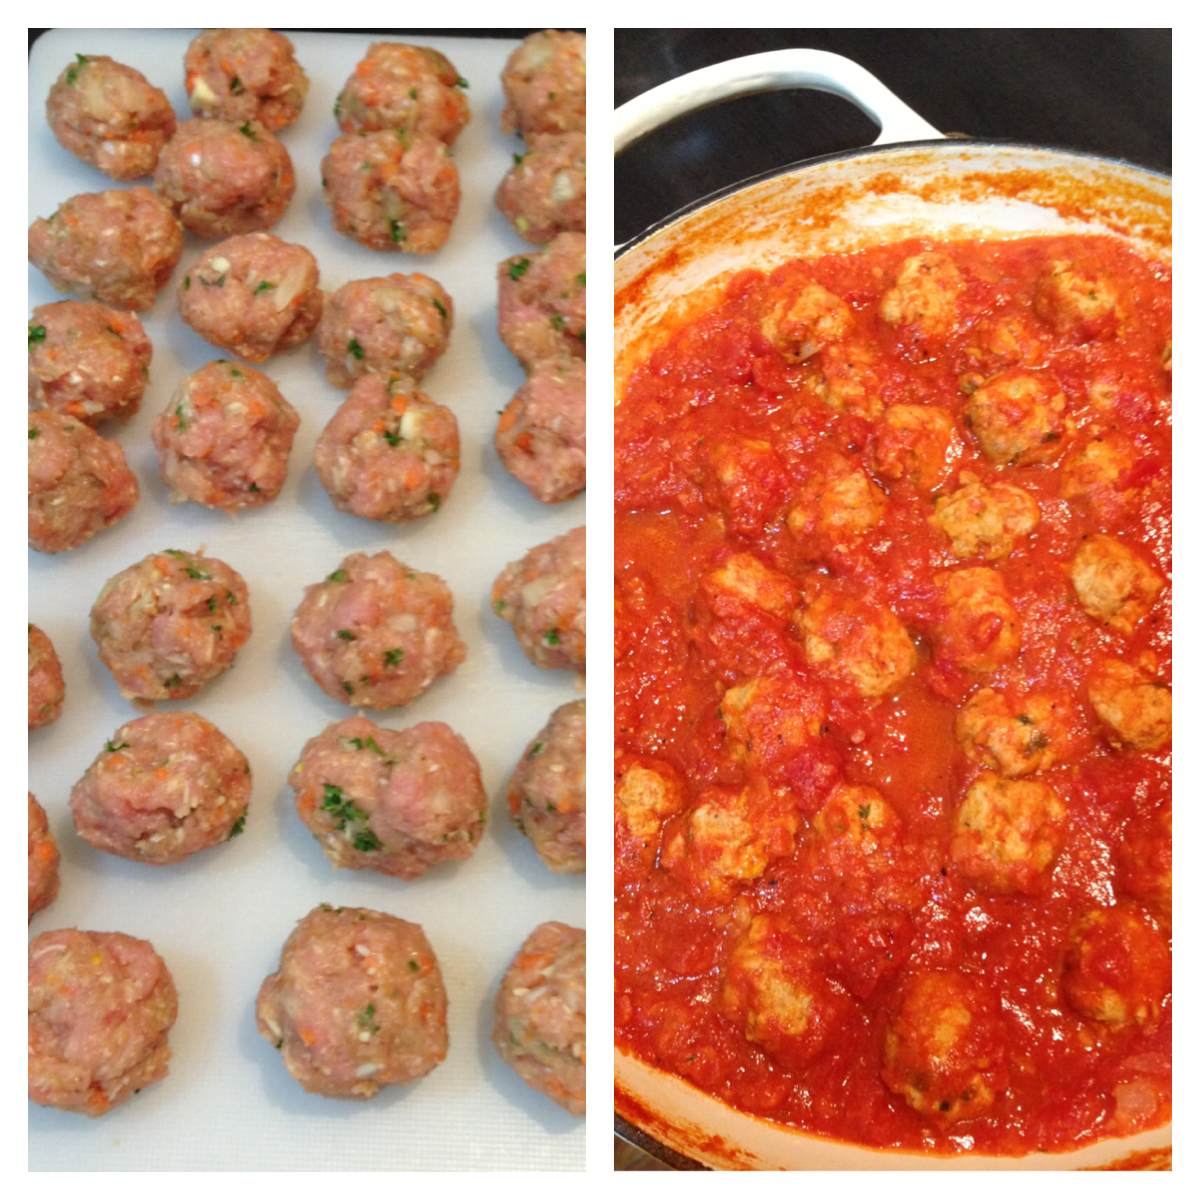
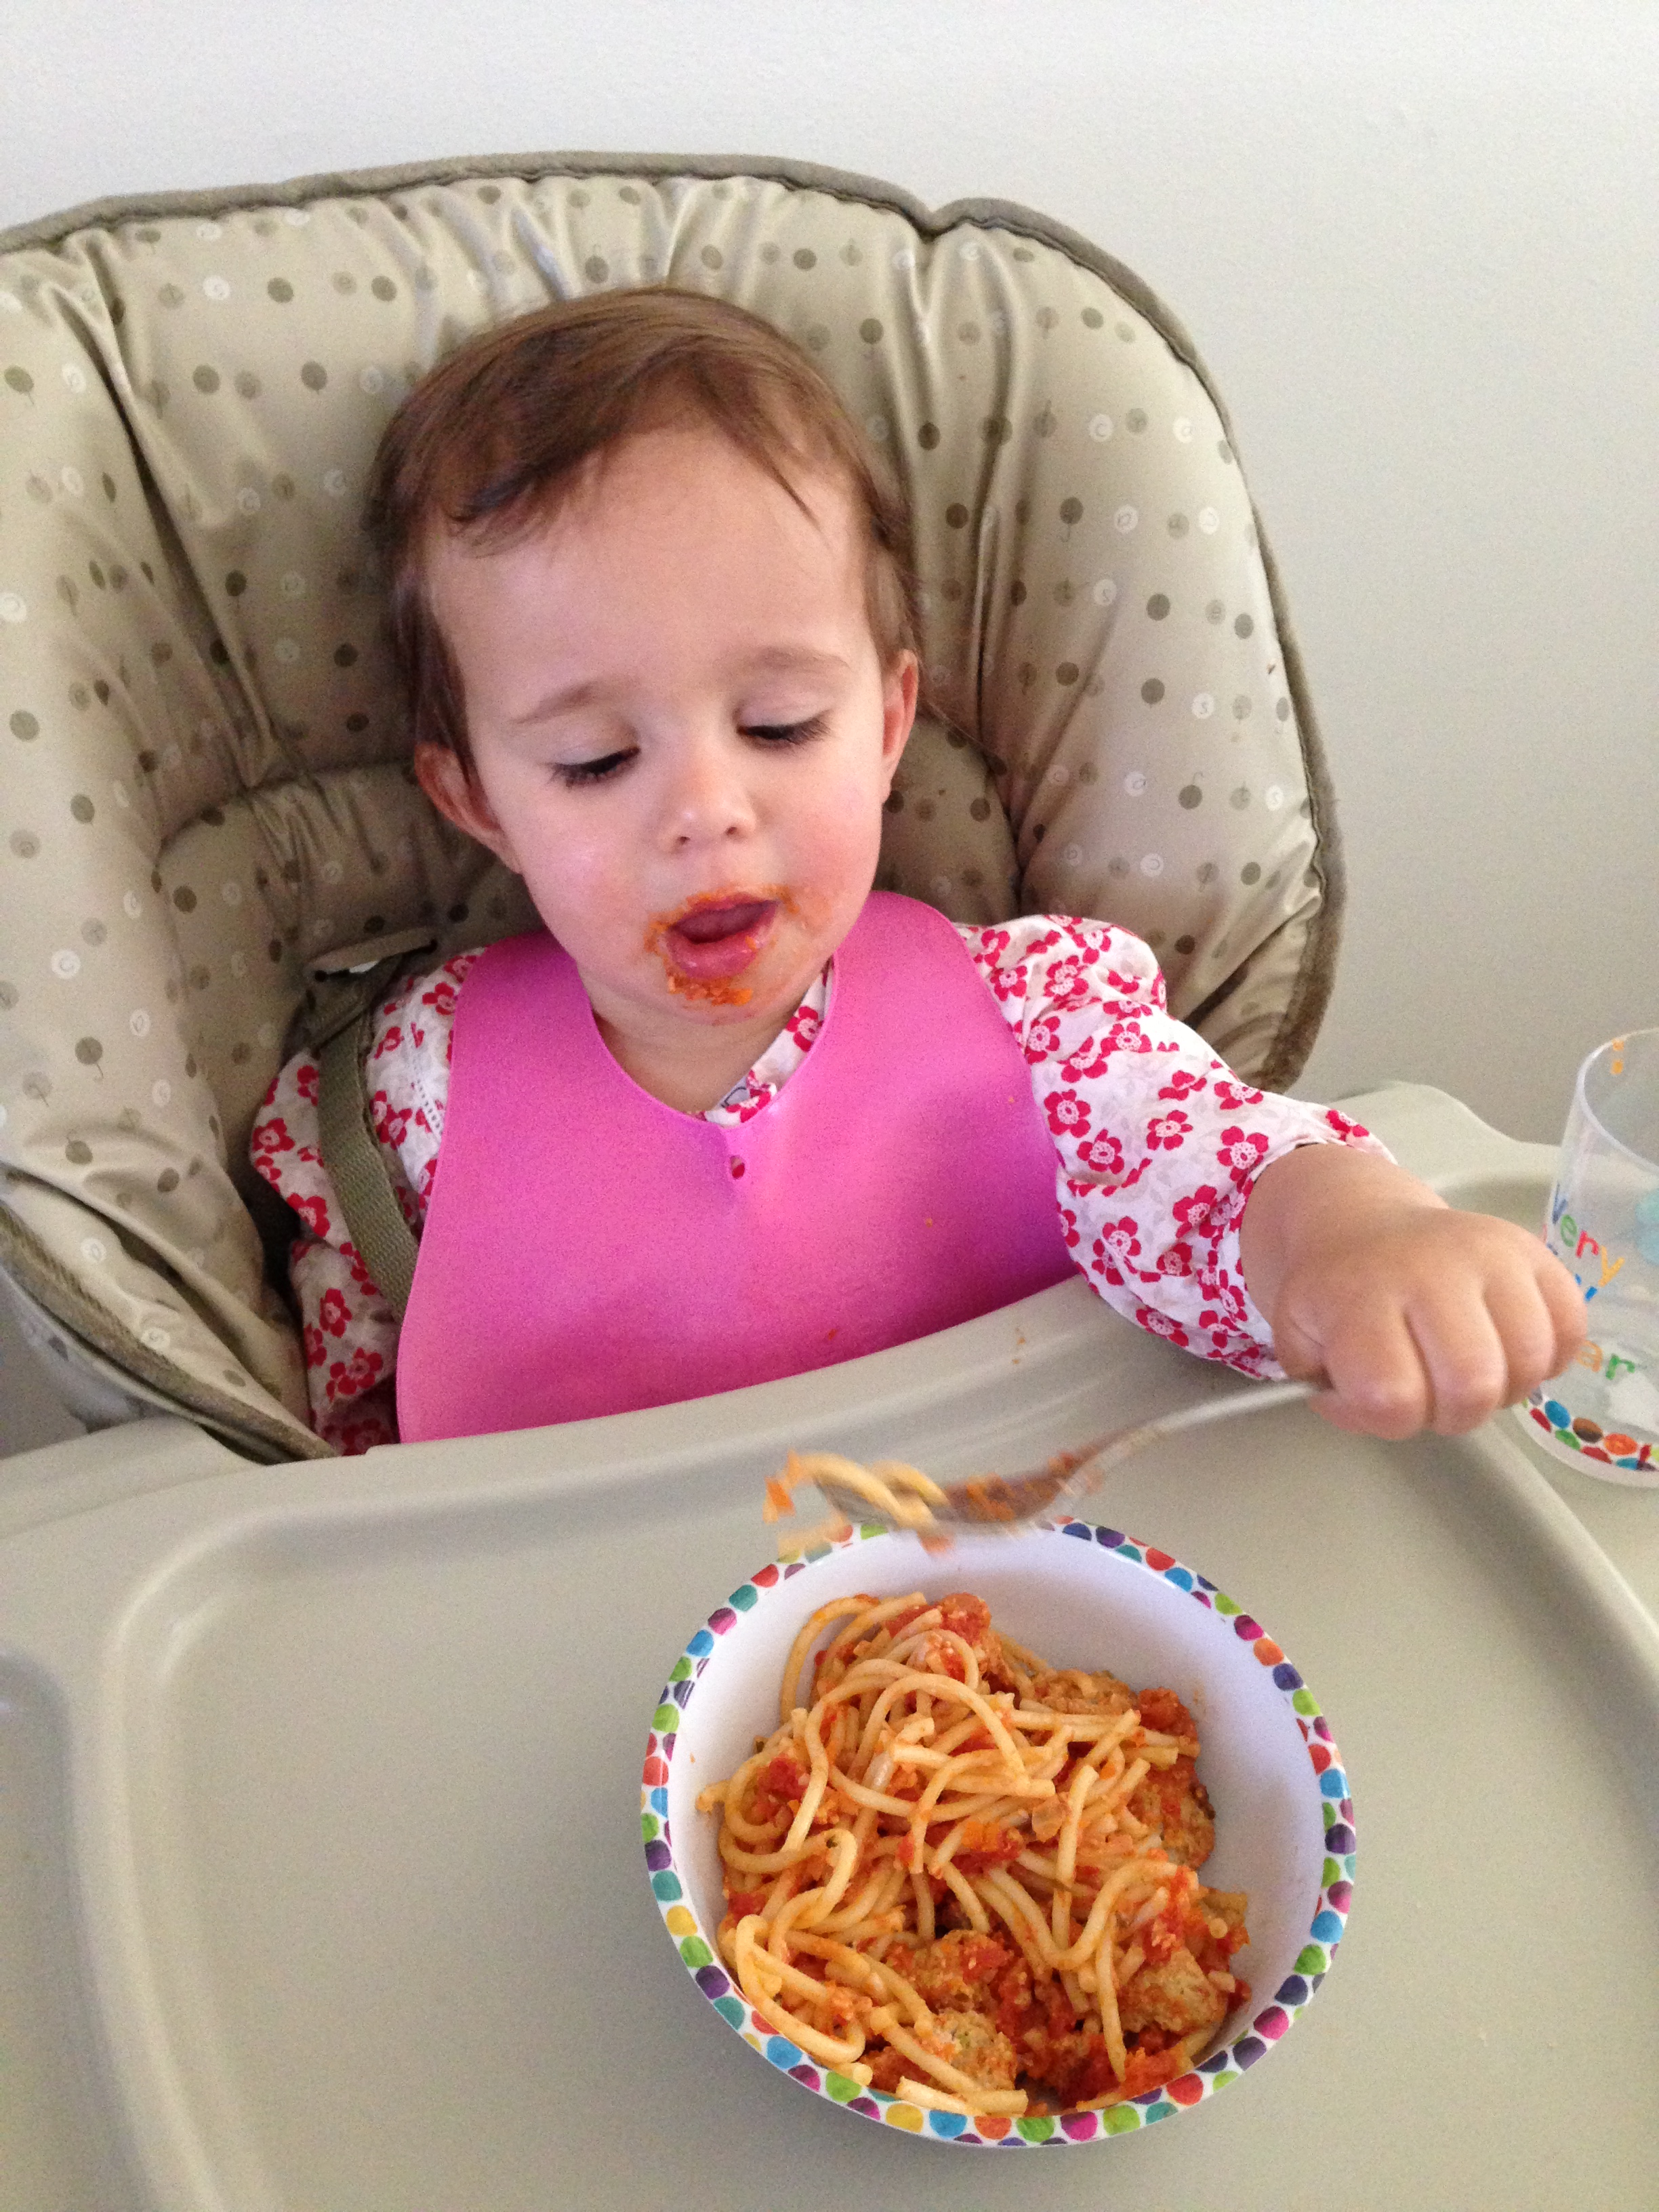
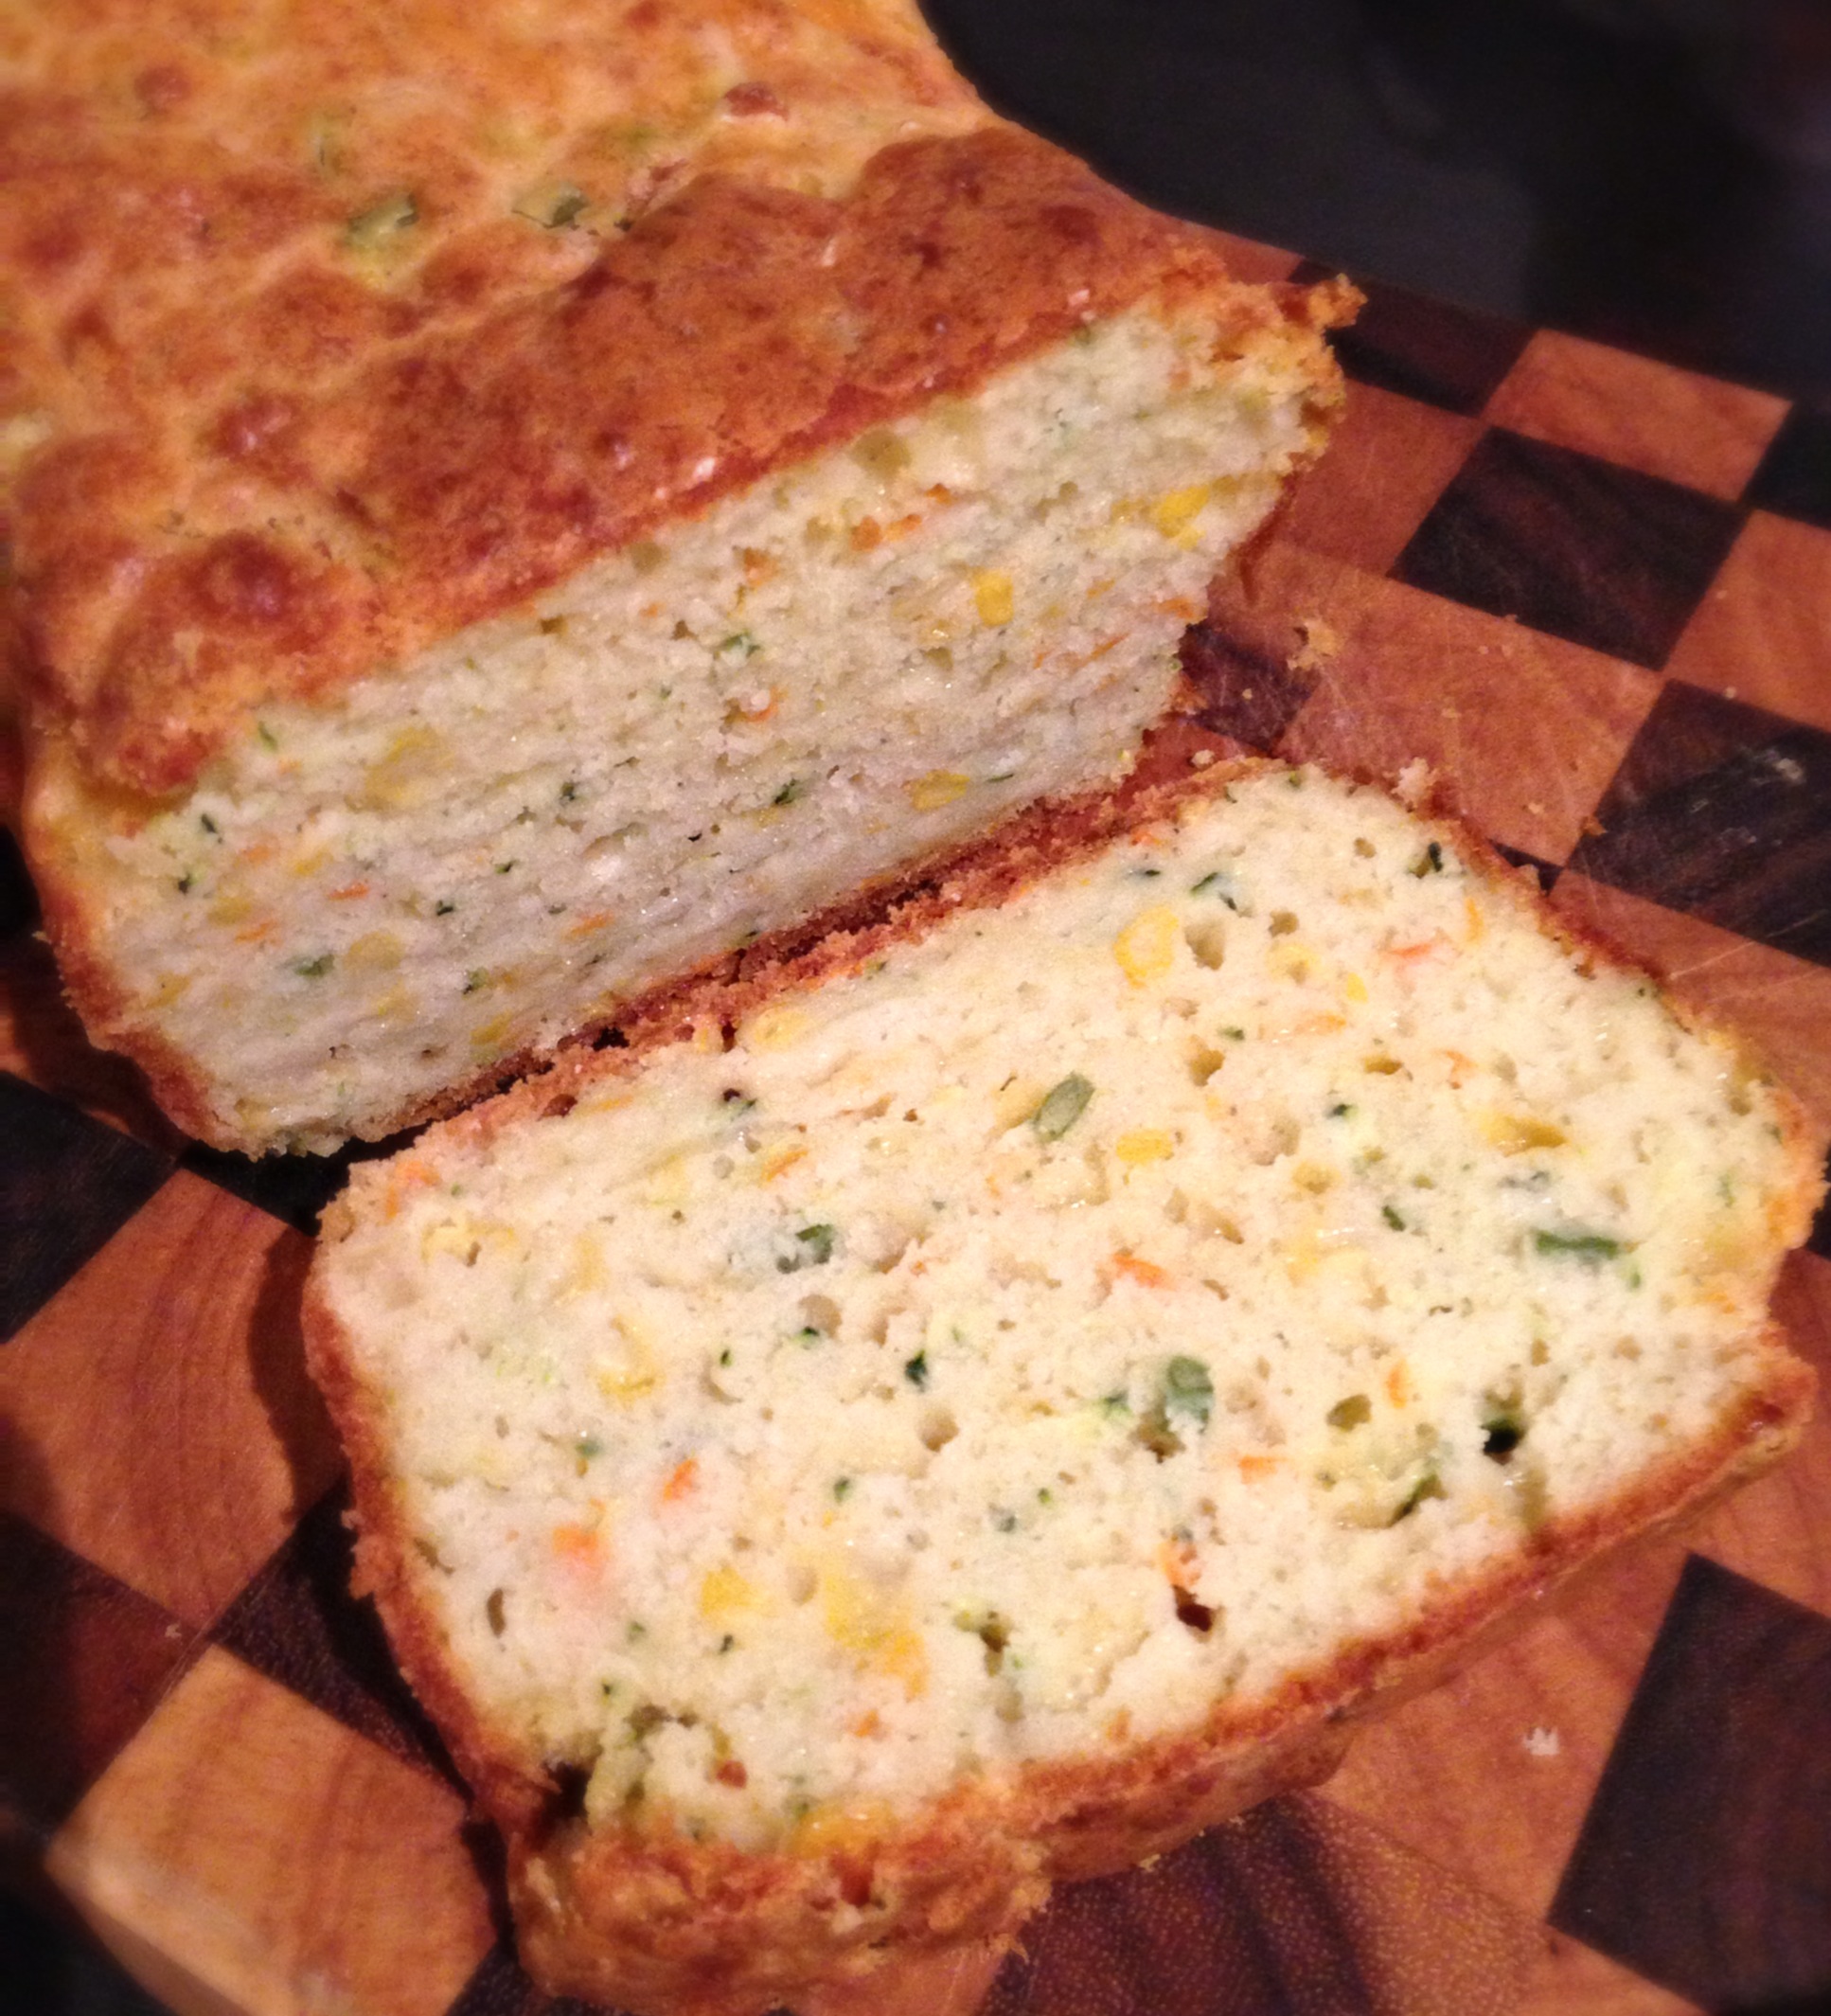
It has been awhile, I must say. What has happen since then and now, well Rafaela is growing up fast. She is 21 months old. I’m looking forward to when I can say she is 2 years and then we just go up by halves right? Imagined if we referred to our ages in months, I would be 380 months old! We definitely are in full swing of the infamous ‘Terrible Twos’ she loves to throw the most outrageous tantrums and the attitude is phenomenal. She has the ‘Terrorist’ as her nickname. However on the flip side she is so incredibly smart and funny. Her personality is shining through these days, even if it can be more challenging. She loves to repeat what we say and do, so eating now is getting to be a tad less of challenge as she wants to eat more and more by herself… Now from what I gather about most kids, green needs to be unseen so hiding vegetables has become my new pass time. Hence the Meatloaf! It’s a great way to use mincemeat and also hide vegetables. I’ve adapted this recipe from Donna Hay. She had these so nicely wrapped individually… Sorry I couldn’t quite pull that one off with the little one. So I’ve gone all traditional and used a loaf pan and a stack of additional vegies. The couscous gives the loaf a really nice texture and actually holds the loaf together quite well. The bacon naturally adds a nice smoky flavour and keeps the whole dish moist. To freeze, merely slice and place between non-stick baking papers in a freezer proof container.
Chicken, couscous and bacon meatloaf
Ingredients
1 tablespoon of Olive Oil
1 large brown onion, finely chopped
3 garlic cloves, crushed
1 carrot grated
1 zucchini grated
6-8 bacon rashers, rind removed
1 cup cooked couscous
1/3 cup oregano leaves, chopped
2 tablespoons finely grated lemon rind
1 tablespoon Dijon mustard
2 eggs
500g chicken mince
2 rashers of bacon, extra, chopped.
Sea salt and cracked black pepper
Method
Preheat oven to 180 degrees (350 F). Heat the oil in a non-stick frying pan over medium heat. Add the onion and garlic and cook for 5-7 minutes or until softened. Allow to cool completely.
Line a loaf tin with the rashers of bacon, slightly overlapping. Place on a baking tray and set aside. Place the couscous in a bowl with the onion mixture, oregano, lemon rind, mustard, eggs, mince, extra bacon, Salt & pepper and mix to combine. Place mixture into the loaf tin, packing it in tight and then fold over the bacon.
Bake for 25-30 minutes or until cooked through. Increase temperature to 220 degrees (440 F). Set aside for 5 minutes before inverting onto the baking tray, lined with non-stick baking paper. Bake for a further 5-10 minutes or until golden.
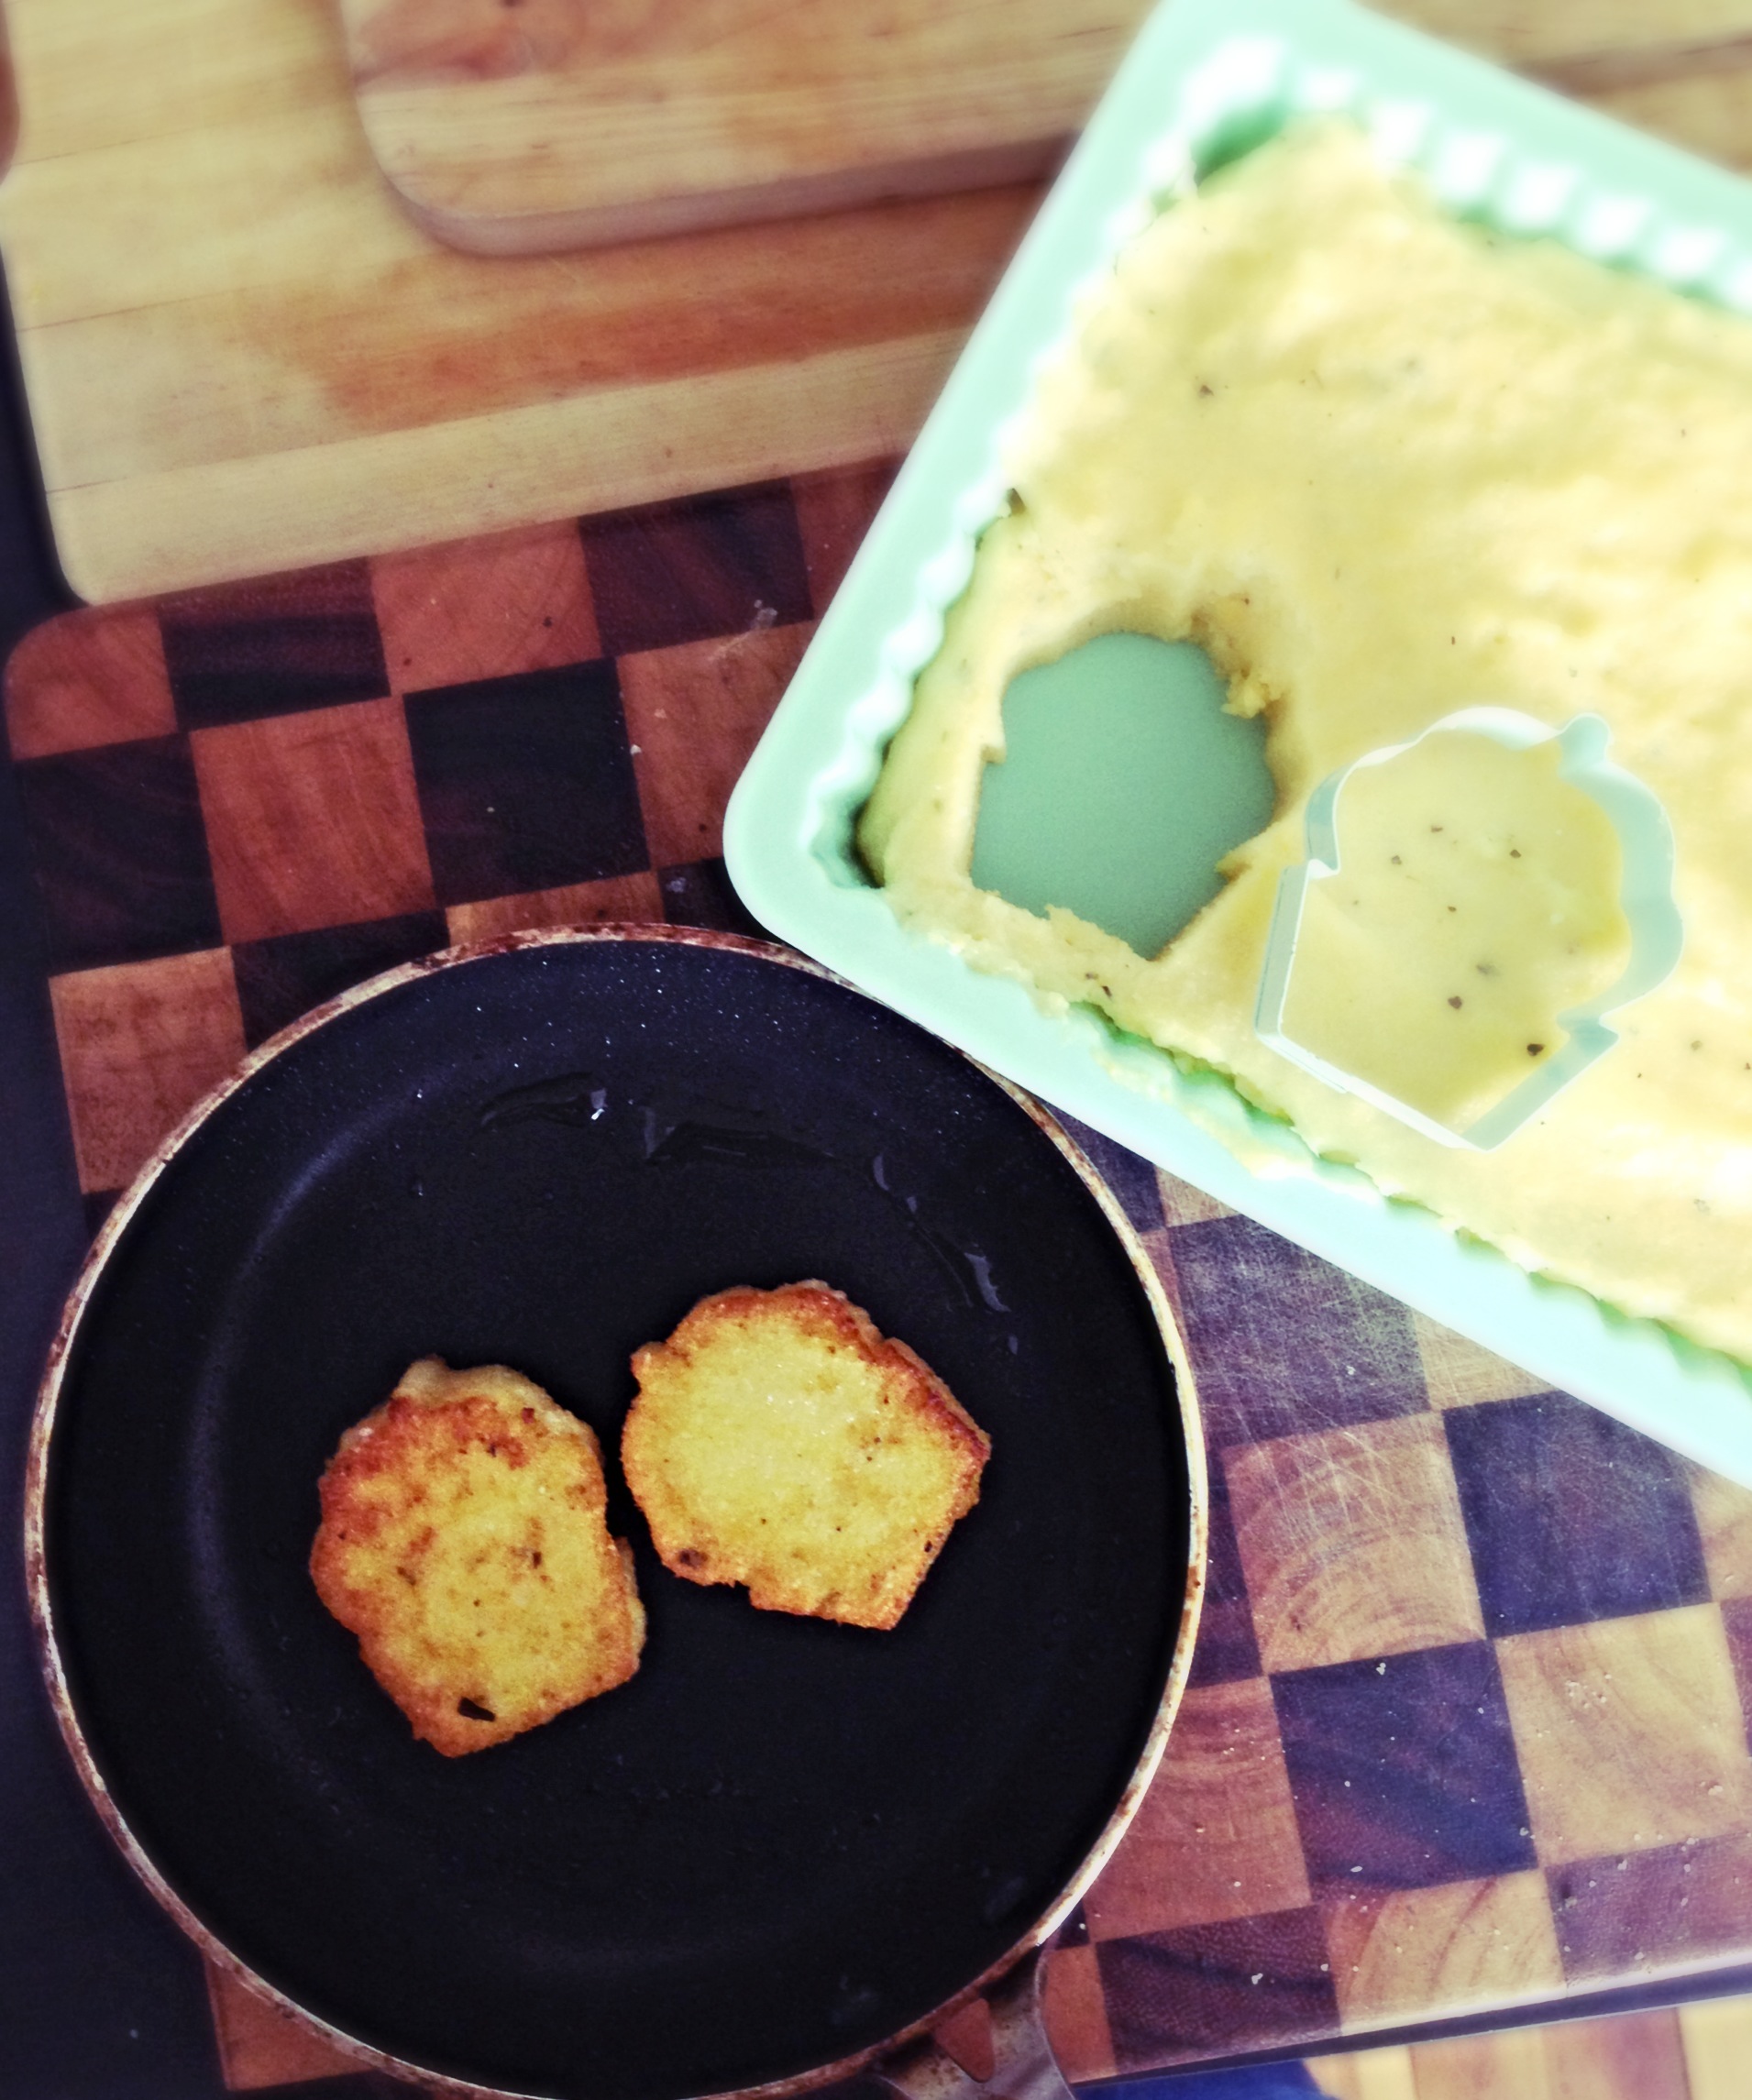
Serve with tomato chutney or sauce if desired. Makes 6-8 slices.
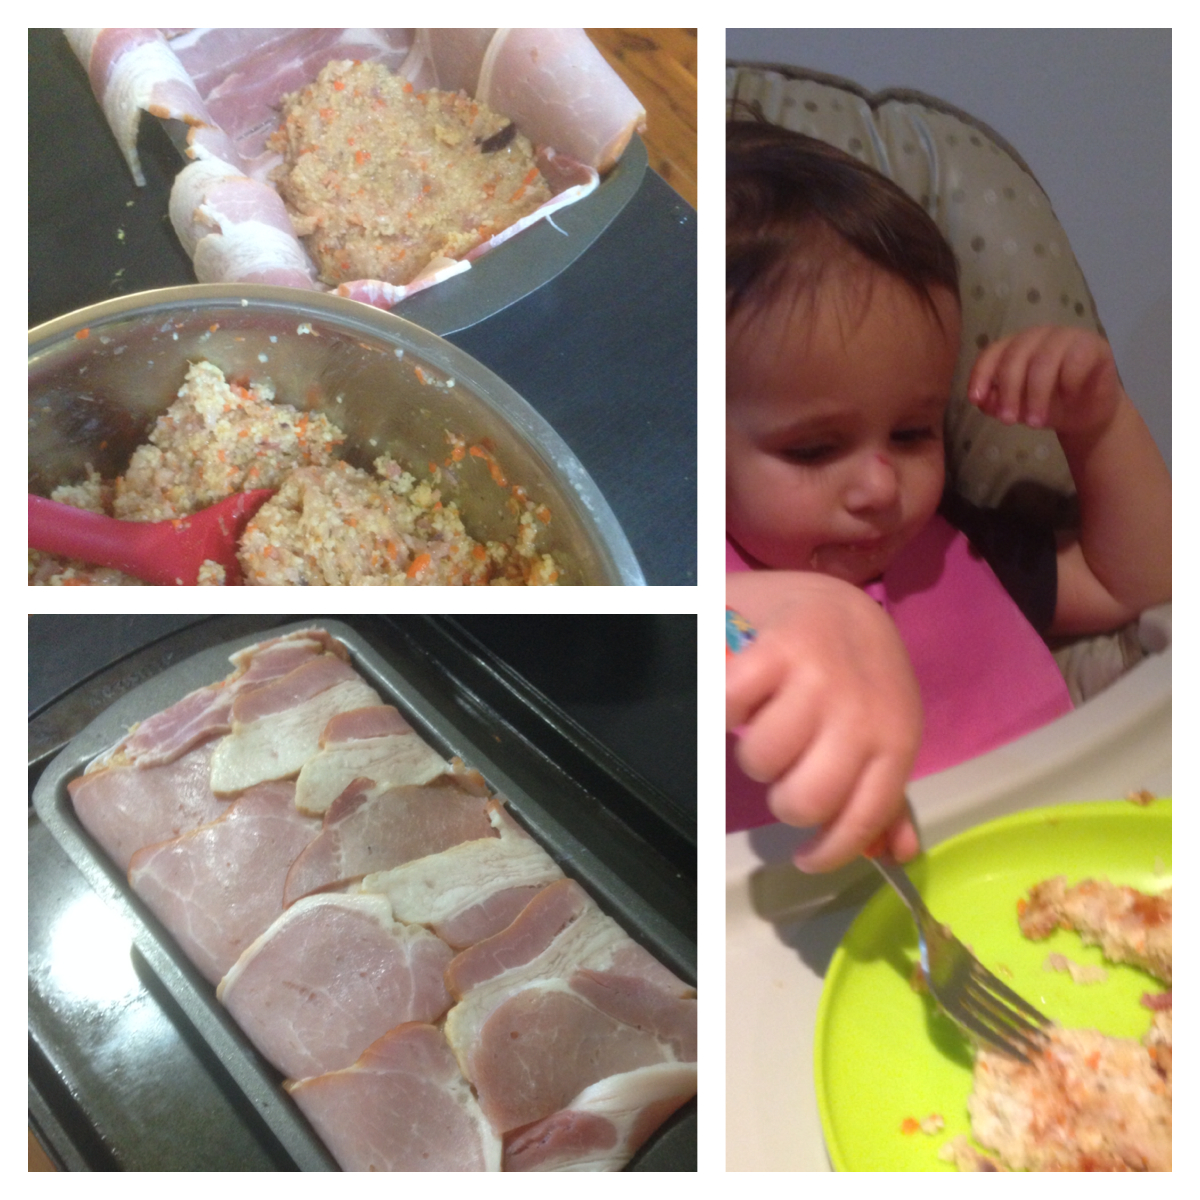
Top left: Packing in the filling. Bottom left: Snug as a bug in bacon rug, Right: Rafaela chowing down.