Category Archives: Dairy

It’s hot hot hot… Cool down with some summer Popsicles

Below are some super easy Popsicle recipes to get you and the kids through summer. I must admit they are my healthy treat at the end of the day when I’m craving something sweet. You can use any type of yoghurt, reduce fat or flavoured. I tend to have jalna organic natural or bush honey in my fridge. Also leftover mixture is really just a smoothy. Enjoy!

Mango
11/2 cups (420g) of yoghurt. Now I use Jalna’s organic yogurt with bush honey. You can use anything from vanilla to natural.
1/2 cup (125ml) of milk
1 mango. I scrap out all the flesh from the cheeks and around and off the seed.
1/4 cup (60ml) of light agave syrup.

Place into a blender and blend until smooth.
Let the mixture sit for a few minutes to get the bubbles out.
Pour into Popsicle moulds and freeze until solid.

Strawberry
2 cups of yoghurt (560g)
1/2 cup (160g) of sugar free strawberry jam
1/2cup (65g) of finely sliced fresh strawberries

Whisk together the yoghurt and Jam. Stir through the sliced strawberries.
Pour into Popsicle moulds and freeze until solid.

Banana Maple
1cup (280g) yoghurt
1/2 cup (125ml) milk
1/4 cup (60ml) maple syrup
1 banana

Place all ingredients into a blender and blend until smooth.
Pour into Popsicle moulds and freeze until solid.

20140119-113213.jpg

Advertisement
Tagged , , , , , , , , , , , , , , ,

Pumpkin, Zucchini & Fetta Mini Quiches

What glorious weather we’ve been having lately. Rafaela is taking full advantage of it too. She is much more nimble on her feet and one of her favourite words is ‘Outside’. The great thing is that she knows she has to have her shoes and hat on before she can go out there which is a great little habit! When the weather is great we try and spend as much time outside getting some much needed vitamin D. So we have been considering what makes a good ‘movable feast’. We had a somewhat impromptu picnic today with the family and we made crispy tofu rice paper rolls. Really straightforward… but not quite bubbachoo friendly right now, but great for your bigger kids!

Another great ‘movable feast’ item is the mini quiche. It’s also a great way to use up leftovers and hide vegetables, which is my new task. Therefore this recipe is totally interchangeable with a number of tasty combinations. Think ham & cheese, mushroom, spinach & fetta, corn etc.

Rafaela seems to have regained her true ‘Hunter’ appetite. She is currently well (aside from a weird rash). No congestion and no teething. Outside of just eating pasta she hasn’t been very adventurous, though she is starting to show a need for independence and eating by herself. She has the coordination down pat, just can’t work out how to get the food on the fork or spoon, I’m sure we will have some kind of stabbing cutlery injury any day now.

Enjoy!

Ingredients (Makes 12+)

1 Zucchini grated

½ Butternut Pumpkin, peeled & cubed.

½ cup of Cheese (Try Grated Gruyere, Cheddar or Fetta)

3 – 4 Eggs

½ cup Milk or Pouring Cream

Fresh or dried Chives, finely chopped.

1-2 sheets of Puff Pastry

12 hole cupcake tray

Salt & Pepper for seasoning

Method:

Pre-heat oven to 180 degrees, toss the cubed pumpkin with a little splash of olive oil and salt & pepper.  Spread the pumpkin on to a tray lined with non-stick baking paper and roast in the oven for 20-25min until cooked, remove from the oven and cool. Prepare the cupcake tray with a light brushing of olive oil. Defrost the puff pastry and cut out enough rounds to line the holes of the tray. They do not need to line the entire cup. If you want to be a bit more health conscious or frugal with the pastry then you need just enough to make a little cup.

Place the zucchini in a small fry pan and cook gently for 2 minutes, remove from the heat and cool. Prepare egg mixture by whisking eggs and milk together. Then lightly season with salt & pepper.  I like to do this in a jug so you can easily pour the mixture into the individual cups

Fill up the pastry cups with pumpkin (2-3 cubes per cup), zucchini, cheese and chives. At this stage you can add any additional ingredients (Little ham or bacon is nice) evenly fill each cup with enough egg mixture to cover the pastry or to just the lip of the pastry.

Place the trap into a 180 degree preheated oven and cook for 25-30min until the pastry is golden and puffed and the filling is firm.

To freeze, make sure that they are completely cooled first. To reheat, wrap them in foil and place back into the oven. Adjust timing based on thawed or frozen.

A Moveable Feast - Pumpkin, Zucchini & Fetta  Mini Quiches

A Moveable Feast – Pumpkin, Zucchini & Fetta Mini Quiches

Tagged , , , , , , , , , , , , , , , , , ,

Polenta Crust Spinach & Ricotta Tart

This tart was an experiment of combining two recipes and it worked a treat! It all came about after dedicating precious hours, during Rafaela’s nap, to clean the pantry out. Prior to this I had found a trail of ants marching their way in and was baffled as to what they were after. A few months earlier, we had the same scenario and I realised they were all over the jar of honey!

So after pulling it apart and reorganising (also a very timely exercise since returning from Costco), I found too many half full bags of pastas, rice, noodles and polenta. I thought it wise to start fresh and finish them all off. In addition to this, the hubby had returned home with a bag of silverbeet earlier in the week. He actually thought it was spinach and for a long time so did I.

So what is the difference? Well sliverbeet is from the chard family, closely linked to beetroot. They have bigger stiffer leaves with white stalks and it needs to be cooked before eaten. This is due to the high level of Oxylic Acid. Spinach on the other hand has small, soft leaves and can be eaten raw in salads. Both are great sources of Iron and Folate. Depending on the recipe it can be pretty interchangeable; therefore a spinach pie or tart can easily use both.

It is just this scenario that inspired me to develop this blog. I would find all these various ingredients and just Google them in one sentence and see what comes up. I also reach for Stephanie Alexander’s ‘The Cook’s Companion’ to filter an expansive list of ingredients. I found a polenta crust from Donna Hay and a spinach & ricotta pie from Teresa Cutler’s ‘Healthy Chef’ blog. Added some lemon, garlic and parmesan (yep the freezer is pretty similar to the pantry at the moment, too many half full bags of cheese!) and we had a pretty tasty dish for the family.

I really liked the polenta crust, it was a great way to use the grain and it added a cheese like depth of flavour to the dish. I served the tart with a tomato and balsamic vinegar salad. It felt very light and fresh and best of all, Raff gobbled it down!

Polenta Crust Spinach & Ricotta Tart (Serves 12)

Polenta Crust

½ cup (75g) plain flour

1 cup (170g) instant polenta or cornmeal

120g unsalted butter, softened.

½ cup of water

Sea salt

Filling

500g baby spinach or silver beet (Swiss chard) – remove stalks and slice

1 leek sliced

1 garlic clove crushed

450g fresh ricotta

1 teaspoon finely grated lemon rind

½ cup of Parmesan

Handful of fresh basil

Pinch of nutmeg

Salt & Pepper for seasoning

Method

Preheat the oven to 180 degrees. To polenta crust, place the flour, polenta, butter, water and salt in the food processor and process until a dough forms. Press the dough into 24cm loose bottom tart pan (or grease a round cake pan). Top the dough with non-stick baking paper and fill with baking weights or dried beans. Bake for 15 minutes, remove the paper and weights or beans and bake for another 10 minutes or until crisp.

To make the filling, sauté the leek and garlic in a pan with a splash of olive oil until soft. Add the spinach or silver beet to pan and season with salt & pepper, nutmeg and basil. Cook until wilted, remove for the heat and drain any excess liquid.

Add the ricotta, lemon, parmesan and mix through until combined. Spoon the filling into the pastry lined pie shell and bake for 35-40 minutes in preheated oven at 180 degrees until golden.

The making of the tart - Pie Crust, Finished Tart and Mixing up the Silverbeet

The making of the tart – Pie Crust, Finished Tart and Mixing up the Silverbeet

Tagged , , , , , , , , , , , , , , ,

Zucchini, corn, carrot and cheddar loaf

Wondering what to make for the kids lunch boxes this week? Why not try this Zucchini, corn, carrot and cheddar Loaf? I found this recipe on a recent trip to NZ. I had the chance to go through archived Donna Hay magazine in her IPad App and found this in a old Kids issue.We love a good loaf at home, however they are usually sweet ones. I made this loaf in about 10-15 minutes, this was the time that Rafaela sat down and ate her lunch. So it is very easy and very quick. We have a walking toddler on our hands now, so cooking can be quite acrobatic at the moment and I will say that kitchen looked like a bomb had hit it!

The original recipe calls for grated cheddar. I had a mexican cheese medley in the freezer and introduced a lone carrot sitting at the bottom of the vegetable tray. The texture is light and fluffy, yet dense enough to remain in tact if toasting or using as a sandwich. It is best served with some extra sliced cheese and tomato chutney.

Zucchini, corn, carrot and cheddar loaf

2 ½ cups self-raising flour

1 ½ cups grated cheddar cheese

1 cup grated zucchini

1 cup sweet corn kernels

1 cup of grated carrot

2 green onions (Scallions) sliced

2/3 cup Canola or Sunflower Oil

1 cup of Milk

2 eggs

Sea salt and cracked pepper

Cheddar and Tomato Chutney, to serve.

Method

Preheat oven to 180 degrees (350 F). Place the flour, grated cheese, zucchini, sweet corn and green onion in a bowl and mix to combine. Place the oil, milk, eggs, salt & pepper in a separate bowl and whisk to combine. Add the zucchini mixture and stir until well combined. Pour into a lightly greased 8cm x 22cm (1.75 litre capacity) loaf tin lined with non-stick baking paper. Bake for 55-60 minutes if until cooked when tested with a skewer. Serve with the cheese slices and chutney. Serves 8

Slice of the loaf

Slice of the loaf

Tagged , , , , , , , , , ,

Cheesy Polenta Slice

I must say juggling motherhood and working has taken its toll. Not to mention the sickness rotating through the household at the moment. Rafaela is the little outbreak monkey; bringing home all these random diseases and the constant runny nose. ‘Hand, foot and mouth disease’ what the hell? Sounds worse than it is…I would pride myself on being quite healthy, I have avoided countless bouts of the infamous man flu. However the combination of being exhausted and never fully recovering from one sickness to another is definitely making life that little bit more dramatic.

We’ve had some big changes of late. I went away for work for 5 days and Andrew played Mr Mum and Dad, he’s now decided number 2 addition to the family is on hold indefinitely. Ha!

Rafaela has sprouted a tonne of teeth, along with being sick, this has led to a fair few sleepless nights, vaporisers and a heap of Panadol. It has also been very challenging to get her to eat anything than puree and spaghetti. Nothing orange or green gets past her so we’ve had to get pretty creative these days. It has been a huge learning curve for us. Every meal these days seems to start with the refusal to sit in her high chair (this resembles planking) Then watching her (like a hawk) to take the first bite to then try for the second and it’s a blatant refusal.  We are then cleaning up countless bowls of food thrown across the room, arguing over the options in the freezer, to then release her from her chair and the screams that can only be described as her being tortured, to then have her just want to eat something from a packet. It is not uncommon for the whole family to be in tears by the end of this… and that was just breakfast.

Now, the little devil is walking! It has been a process as many mums and dads will know; starting with the shuffle across the furniture, then the two hand hold, then the one hand. We went from big steps to little more controlled steps and then we had the downward dog moves that took her from sitting to standing on her own. All amazing feats, and then last night in the corner of my eye I see her get into her tripod position, stand and then take off! She was practically running and on a mission to nowhere. She was just so excited to be moving. It was hilarious and charming all at once. So with all these changes, I am feeling the need to be as simplistic as possible. This leads me to the below recipe for Cheesy Polenta Slice. It is extremely easy to make, it just needs at least 25 minutes of your attention.

Ingrediants

1 cup of polenta
1 litre of water
3/4 cup of parmesan cheese
3/4 cup of a cheddar, tasty or mozzarella cheese
3 good pinches of dried oregano
Cracked pepper
Butter

Method

Bring the water to boil and slowly while whisking add the polenta. Reduce the heat and Continue to whisk the polenta for 10-15min so you don’t get any lumps. Remove from the heat and allow it to sit for 5 minutes. While it may look cooked it’s important to cook the polenta for close to 25min otherwise it will be heavy and grainy.

Add the cheese, oregano and pepper stir to combine.

Line a small rectangle baking tray (The silicon trays work a treat), smooth out the polenta into the tray and allow to set in the fridge for 30 minutes.

When ready slice up into fingers or use a cookie cutter to make fun shapes out of the polenta. Melt a dollop of butter in a non-stick pan and fry up the slices until golden brown.

Serve up with pasta sauces, fresh tomato salsa, or with roast veggies. You can also add cooked veggies to this dish before setting in the fridge, consider; pumpkin, carrot or zucchini

You can also freeze the polenta. I find it easier to package the individual portions in foil and then defrost in the fridge or microwave before crisping them up in some butter.

Cheesy Polenta cut using a cupcake cookie cutter

Cheesy Polenta cut using a cupcake cookie cutter

Tagged , , , , , , , , , , , , , ,

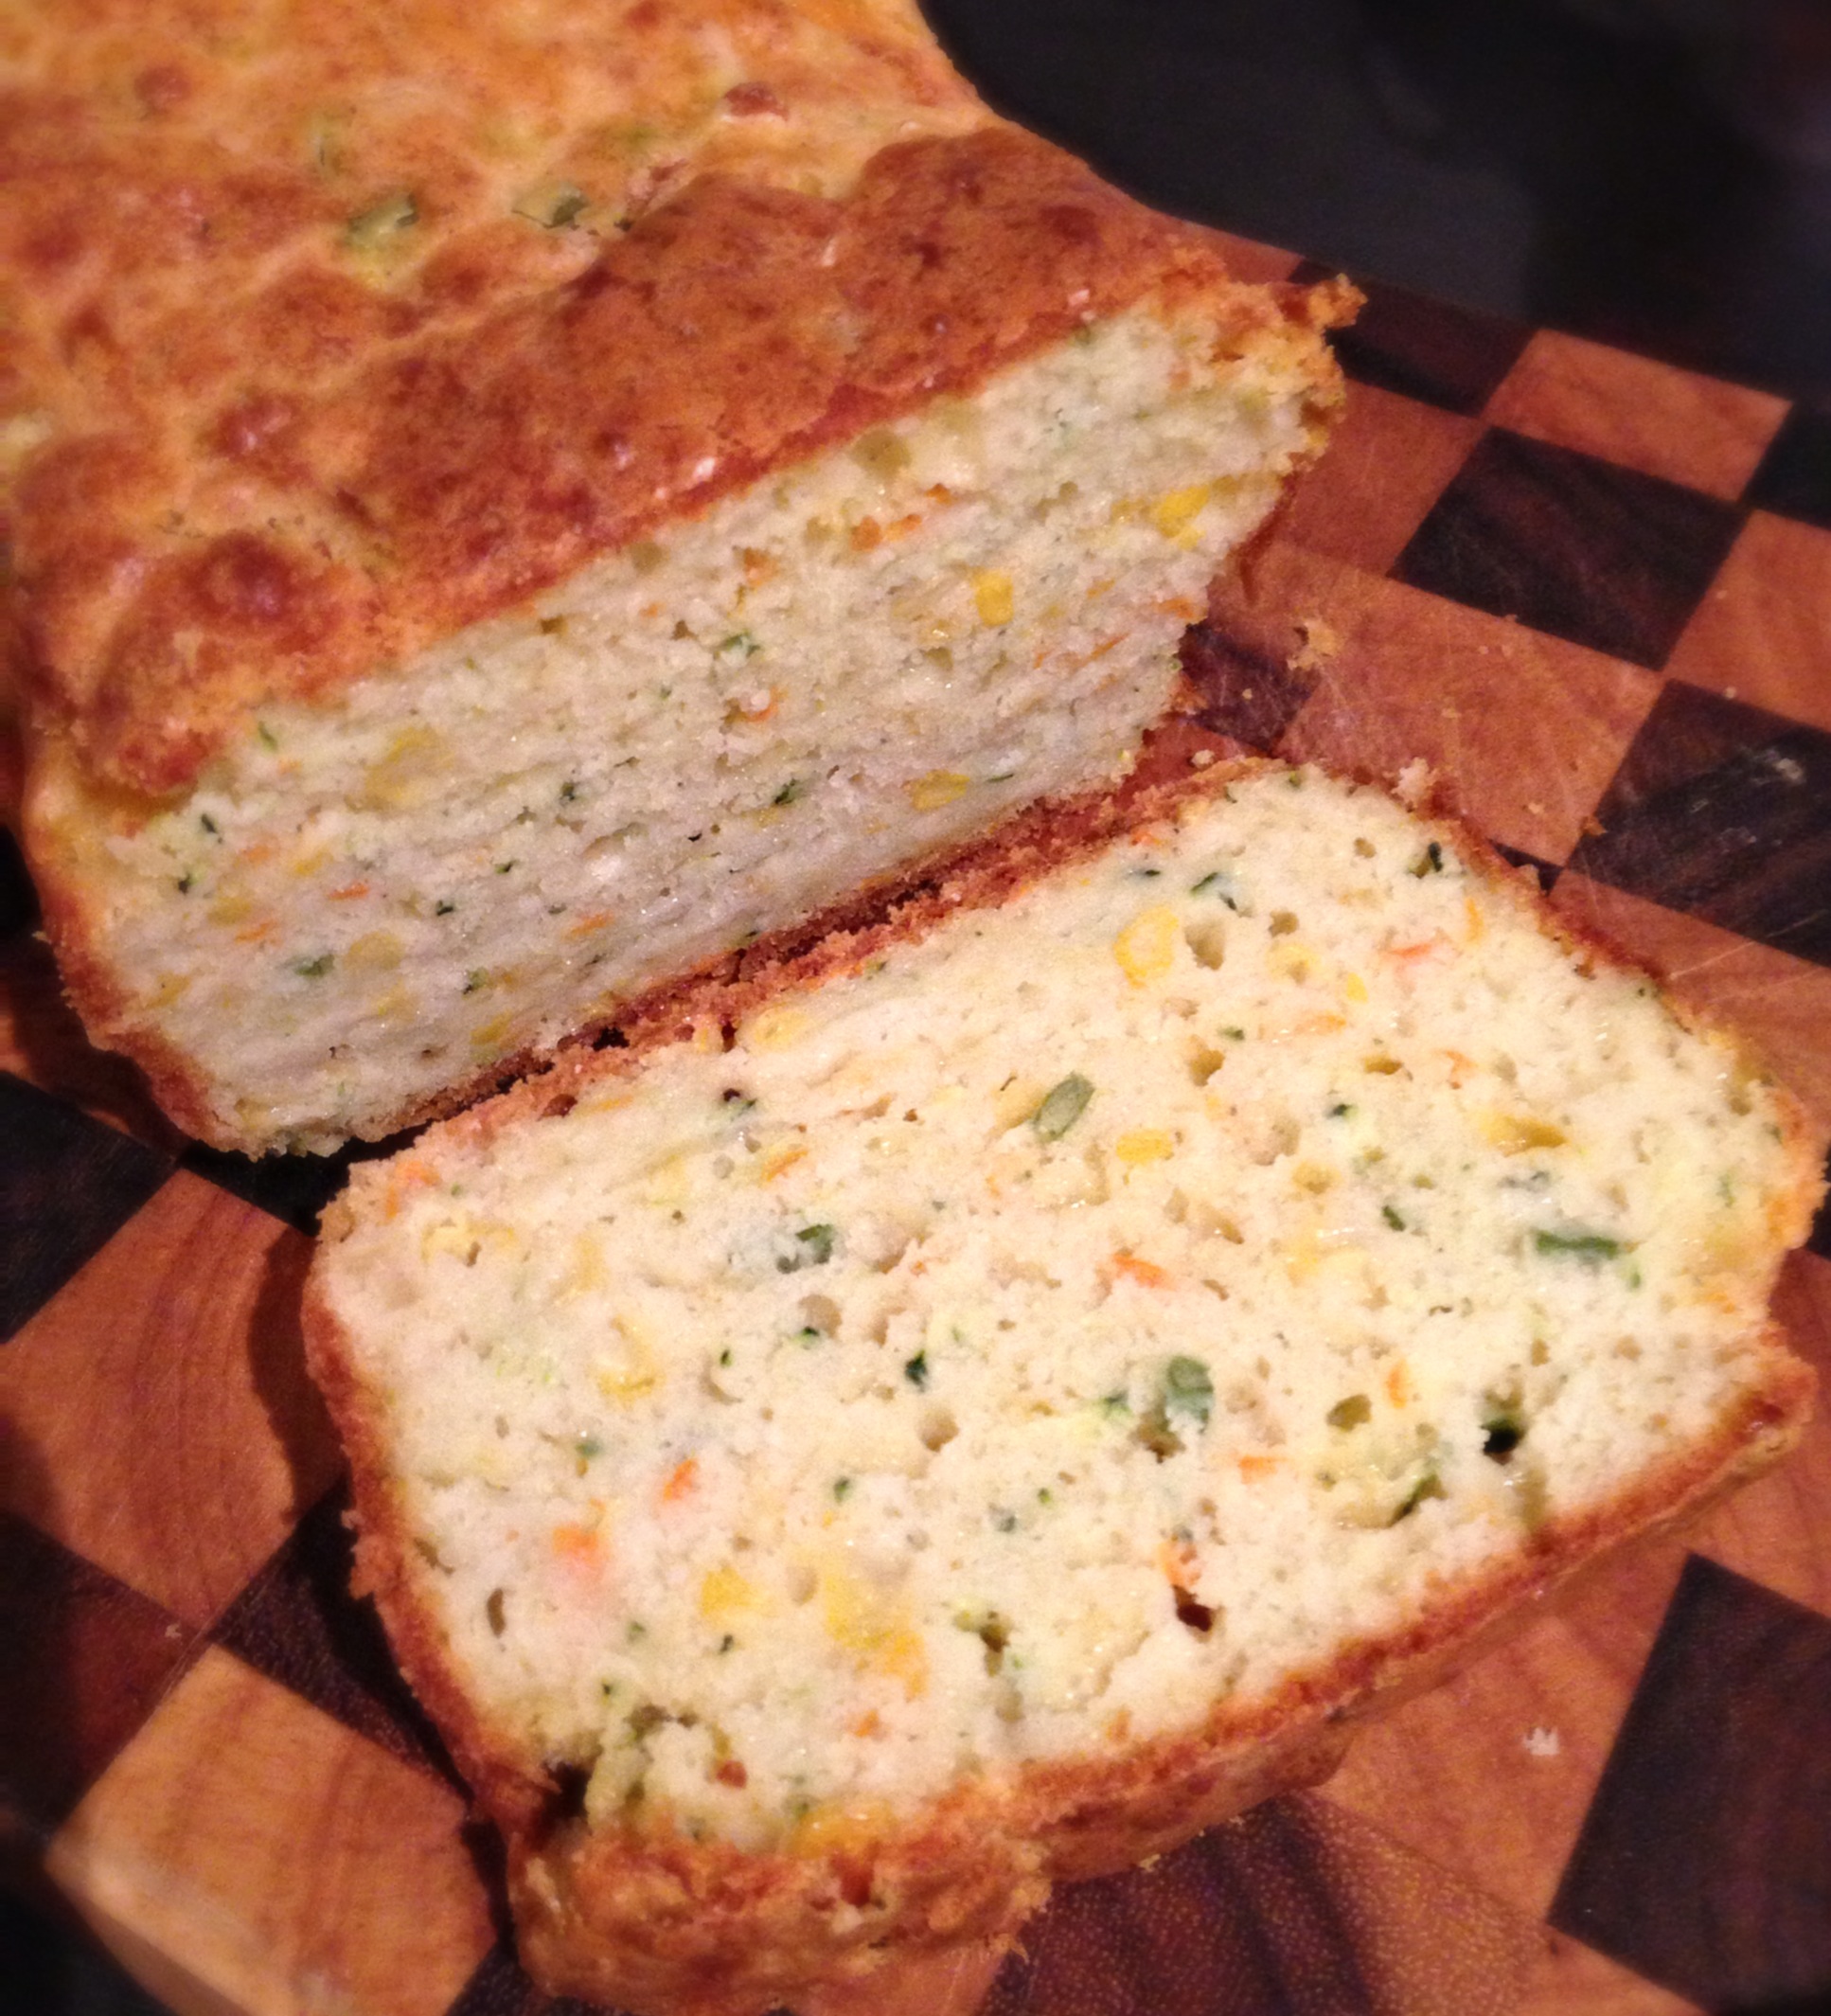
We continue the series of all things “round” with this burger recipe. It is a combination of a couple of different recipes and I have also adapted it to include quinoa and some extra vegetables. Of course, the thing with burgers/patties/rissoles/cakes is you can really just add anything to the mix and you can somewhat hide ingredients that you little one is quite picky about.

It is pretty normal, or so I have read, for kids to be fussy with their food. Where one day they may have liked eating something and now they sit in protest if it even comes near the plate. Rafaela has so far done this with carrots. It was her favourite as we started on solids, then she wouldn’t have a bar of them and now she can’t get enough of carrot sticks. Also, I have always been pretty adamant about including something green into her meals, zucchini and spinach have been standard but broccoli has always needed to be mixed up in the dish. So beating the Broccoli ban has become a more difficult feat. Even cheese, such an easy snack and a great source of calcium, will only go down the hatch if it’s melted or mixed into her meals.

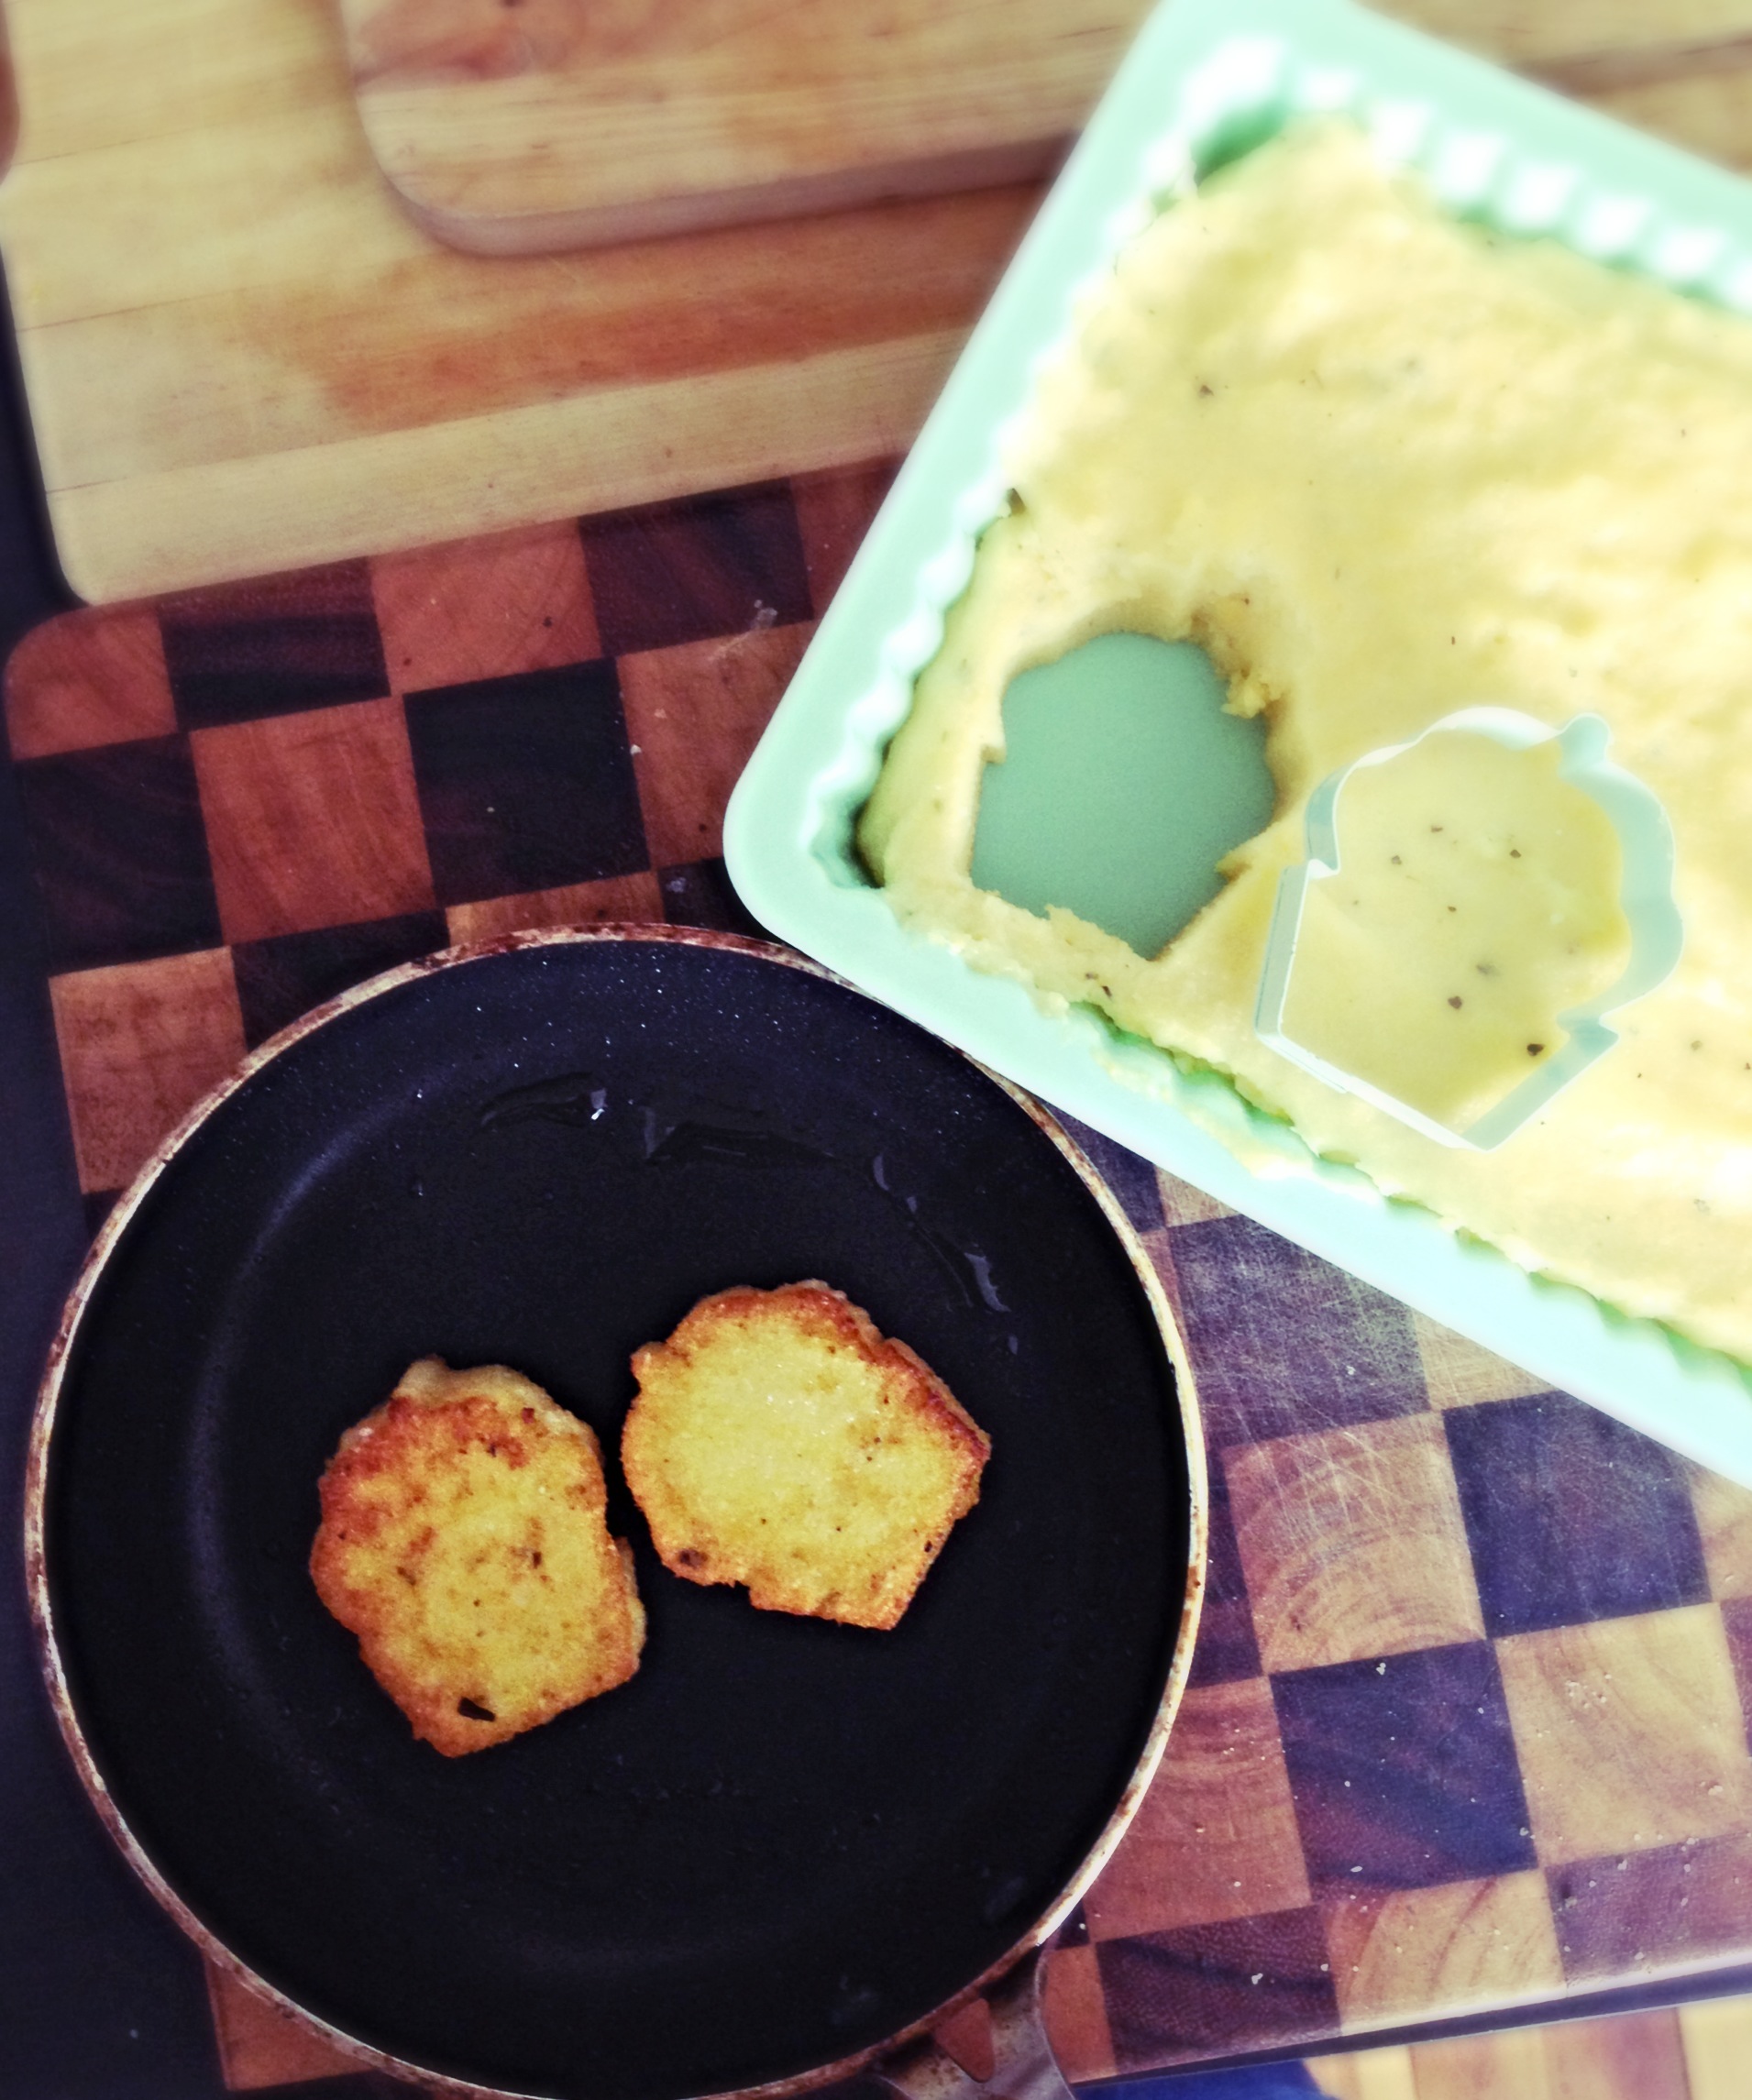
So, like I said, making a burger is a great way to disguise any undesirable foods and this is for all ages!  Two birds with one stone in this house. With these lamb burgers, I am able get Raff eating more vegies and my husband, Andrew, eating quinoa.

Again, these burgers are very freezer friendly and great for the whole family. They can be served with all your favourite trimmings in a bun or on their own with mash or salad on the side.

Ingredients (Makes 12 – 14 larger burgers and 10 + mini burgers)

500g lamb mince

1 cup quinoa, cooked (prep notes below)

1 egg

1 small Spanish onion (or ½ large), finely chopped.

1 medium zucchini, grated

1 small carrot, grated

1 garlic clove, minced

1 tablespoon of tomato paste

80g of fetta, crumbed.

2 tsp. cumin, ground

Fresh or dried oregano (roughly a teaspoon)

Pinch of pepper

Method

Place dry quinoa into a large fine mesh strainer and rinse with cold water.

Place rinsed quinoa into a small saucepan and cover with 2 cups cold water.

Bring the quinoa to a boil and turn down to a low simmer. Cook for 15 to 20 minutes.

Remove from heat, fluff with a fork and cool before mixing into lamb.

You can either finely chop or grate the vegetables or place them into a food processor for whiz.

In a large bowl combine lamb, quinoa, egg, onion garlic, vegetables and spices. Mix thoroughly until the mixture comes together and is smooth.

Prepare the lamb burgers by forming them into small balls, usually the width and of your child’s palm. Flatten down into a patty and place on baking paper.

Place a large non-stick sauté pan over high heat for 1 minute. Add the patties into the hot pan and brown on each side. Cover and cook on low heat for 10-12 minutes.

To plate the dish place the lamb burger with some fresh salad or fresh tomato puree. Top with a dollop of natural yogurt mixed with fresh mint or with some sweet potato mash.


Lamb Burgers

Lamb Quinoa Burgers

Tagged , , , , , , , , , ,

Baby Lentil Falafels & Garlic Yoghurt Sauce

Here is a simple recipe from Donna Hay’s latest cook book ‘Fresh & Light’. I have been looking for simple, healthy recipes that are freezer friendly and it has so many easy recipes that use fresh ingredients.

Patties, burgers, cakes, rissoles, meatballs… however you want to define food rolled up and then pan fried or baked is fine by me. All I can say is, these little round morsels of food are making a huge comeback in our household these days. It is the ultimate odds and ends recipe, using up odd vegetables and the staple mincemeat or that odd can of chickpeas from the pantry. So this is the start of the Palm series. I say palm as I make them all the size of Rafaela’s palm (the recommended portion size) for her and everyone really. So watch this space, over the coming weeks I will be focusing on all things…. Round!

Lentils are a great addition to your little bubba choo’s diet; High in protein, so great for Vegetarians. They also tend to take on the flavours that they are cooked with, Making them very versatile. You might want to start with Red lentils, they are slightly lower in fibre so they don’t produce as much gas as brown and green ones. They also cook to mushier consistency. Some suggestions for Lentil include; cook them in a homemade broth, mash them with vegetables, Use them as a thickener or throw them into a soup or casserole. They would require 20min of cooking. Always thoroughly rinse lentils as they are prone to debris.  This recipe calls for a can of brown lentils. These are readily available as all supermarkets. You can also get organic varieties, which I have used below.

These little Falafels are very tasty and are not deep fried. Like most falafels, they are best served with a sauce. So I’ve included the one from the original recipe. Rafaela gobbled these down, while smearing the yoghurt sauce all over her face. They freeze really well and are a great meal or snack option. These are perfect for the whole family. I found them a great finger food for parties.

Lentil Falafels (makes 12)

1 x 400g can brown organic lentils, drained and rinsed.

1 cup (70g) fresh breadcrumbs

100g Ricotta

1 egg

1 teaspoon ground cumin

½ coriander leaves

1 teaspoon of finely grated lemon rind

Sea salt and black pepper

Sunflower oil or macadamia nut oil for brushing

Garlic Yoghurt Sauce

1 cup thick plain yoghurt

2 garlic cloves crushed

2 tablespoons of Tahini paste

2 table spoons of lemon juice

2 table spoons of chopped chives

Method:

Preheat the oven to 220 degrees (450F). To make the garlic yoghurt sauce, combine the yoghurt, garlic, tahini, lemon juice and chives. Set aside.

Place the lentils, breadcrumbs ricotta, egg, cumin, coriander, lemon, salt and pepper in a food processor and pulse until the mixture is just combined. Shape 2 tablespoonful’s of the mixture into small patties and place on a baking tray lined with non-stick paper.  Brush the patties lightly with oil and bake for 10 minutes each side or until crisp.

Serve with Garlic Sauce. For infants try serving with couscous and vegetables. For older kids & adults, try serving with salad and pita bread.Image

Tagged , , , , , , , , , , , , , , , , , ,

Spinach & Ricotta Baby Cannelloni

Well it feels like it has been a while between drinks (err Posts). We are into the full swing of the juggling act that is working and parenting. Rafaela seems to be thriving in day care, drinking from a cup all on her own and climbing like a little monkey. The drop off is getting easier, tears are fading and is now replaced by a disappointing look. We have progress!

More and more Rafaela is enjoying different foods; she is at the age where the list of foods she can’t eat is depleting rapidly. I started making Cannelloni after my mother-in-law had a bumper crop of spinach. It was spinach and ricotta bonanza in our household for a few weeks. We tried the Greek Spanakopita pie as well as spinach and ricotta gnocchi but the most appropriate for Rafaela to enjoy and the most successful (the gnocchi was pretty tricky) was the cannelloni. It is the perfect family dinner for a house obsessed with spaghetti and in desperate need of a pasta shake up! This is a variation of a classic Donna Hay recipe. It was really about omitting and substituting certain ingredients to make an infant friendly batch. Spinach is a great source of Calcium, Iron & Vitamin A. It is recommended to start babies on Spinach after 8 months as they can contain nitrates and are an oxalate food and should be eaten in moderation. Below is a baby friendly spinach & ricotta cannelloni recipe. I would keep aside a portion of the mixture for Rafaela and the rest for the adults. It is a great dish to freeze for those now so often moments we need a quick tasty meal and lunch the next day!

Baby Basic Tomato Sauce

1 x 400g can of Organic diced tomatoes

1 small onion finely diced

1 garlic clove crushed

Sprinkle of nutmeg

Splash of olive oil

Handful of fresh basil leaves

Heat the oil in a saucepan over medium heat.  Then sauté onion and garlic till tender. Add the diced tomato and ¼ cup of water (I usually wash the remainder of the tomato out with this water).

Add the fresh basil and simmer for 10-15 minutes, or until thick and lumpy.

Cannelloni

1 x Baby Basic Tomato Sauce

2 x packet of lasagne sheets (contains 8 sheets) halved lengthways

½ cup of finely grated parmesan cheese

Filling

2 bunches or 500g of English Spinach, trimmed.

750g of fresh ricotta (I find fresh from the deli works better than the containers. It tends to contain less moisture)

1 cup of finely grated parmesan cheese

2 tablespoons of chopped flat leaf parsley leaves

1 tablespoon of chopped dill

½ cup of fresh breadcrumbs

Method

Pre-heat the oven to 180°c.  To make the filling, blanch the spinach in a saucepan of boiling water for 5 seconds, then drain. Squeeze out any excess moisture, and chop.

Combine the spinach, ricotta and parmesan, herbs and bread crumbs. Grease a 20cm x 30cm ovenproof dish. Spread 1/3 of the tomato sauce over the base of the dish. Lay a lasagne sheet on a flat surface, spoon on some ricotta filling and roll up. Place into the baking dish, seam side down. Repeat with remaining filling and sheets. Pour the remaining tomato sauce over the cannelloni, sprinkle with the extra parmesan and bake for 25-30min or until soft and heated through.

Now this recipe makes a heap of Cannelloni. If you save 1/3 of the filling for your bubba choo you will make approximately 18-20 cannelloni.

Suggestions: I have also included some cooked pumpkin into the mixture. It adds a nice sweetness to the dish and it helps get Rafaela’s Veggie content up! Spinach & Ricotta Cannelloni

Tagged , , , , , , , , , ,

Summertime Frozen Yoghurt Pops

Here is a delicious little treat for you and bub, just in time for the scorcher about to hit tomorrow here in Sydney – 42 degrees and baking! Also if you’re on a bit of post festive season, pre Australia Day detox like me then this is the kind of treat your after.

This is a great substitute for craving ice-cream after dinner, which is my current downfall. We are trying to eat together as a family. I’m hoping Rafaela clues onto using her own spoon by watching us. So far we just have her wanting our and refusing to eat out of her bowl unless it comes from either mine or her dads. Eating together means eating super early for me, like at 6:30 pm. In my former life I was likely to be at work or on the train at that time. The task for us in the coming weeks as I plan on heading back to work is to maintain our dinner time, therefore the freezer will be my new best friend!

The below recipe is for Blueberry & Banana flavour. You can substitute or make many different combinations. Think about Raspberries, Mango, Strawberries and Banana. Once your bub is old enough you can use Honey. However this recipe uses Agave Syrup, easily available at Coles or Woolworths. We also use Organic full fat Yoghurt. Babies need full fat products until the age of two.  I use Macro Foods Organic Greek  Yoghurt or Jalna Bio Dynamic Organic Whole Milk Yoghurt. These are both staples in the fridge. For adults, try reduced fat vanilla yoghurt.

You don’t need to make them into Popsicle’s.  I  did picked up some cute moulds from Ikea for $2.99 last week. I’ve also made some smaller baby friendly portions in Ice cube trays. You can easily put this into a freezer friendly tub and scoop it out like normal frozen yoghurt.

Stay Cool!

Frozen Yoghurt Popsicles (makes about 1 litre)Frozen Yoghurt Pop

Ingredients:

1 Cup (280g) of organic plain yoghurt (see above)

½ cup (125ml) Soy Milk or Full Fat Milk

1 Banana

1 Cup (150g) fresh or frozen blueberries

¼ cup (60ml) of Agave Syrup or Maple Syrup

Method:

Place all the ingredients in a blender, blend until smooth. Pour into your moulds and freeze for 4-6 hours.

To remove the Popsicle from the case, run under warm water or place in a cup of warm water.

There is plenty to fill up 6 Popsicle moulds and a decent amount of ice cubes.

Tagged , , , , , , , , , , , , , , , , , , , , , ,

Simple ingredient substitutes

Remember when you were pregnant and they said no more soft cheese, no more processed meats, avoid seafood and pre-packaged salads. Well starting solids is a very similar mine field.  You might find out early on through breastfeeding if you child has any major intolerance’s  Otherwise it’s a game of Russian roulette! No it’s not that bad.

However our little babies have immature digestive systems and their little organs may not be able to cope with an abundance of certain minerals a particular food may provide. ‘Which Foods When’ is a great chapter from Dr Jennifer Barham-Floreani’s book ‘Well Adjusted Babies’. You can buy the chapter as an eBook from her site.  I find it extremely informative and it has great tables that can be printed and stuck on the fridge.  From all the various research I’ve done, most professionals in this field tend to recommended trialing new foods on their own and over a period of 3 days to monitor any reactions.

If you’re like me and ask Dr Google everything – “Can my baby have smoked salmon?”.  You will find an absolute wealth of information,. So far I’ve found the internet the most helpful tool and the iPad the second on this whole parenting journey.  The best thing is we have access to this information at our finger tips, it is always evolving and improving as more and more research is conducted. Just ask your mum when you ate eggs and had cow’s milk as a baby.

Below are some substitutes for common allergens. I’ve used all three and they have worked perfectly fine.

Egg Substitute

As a binding agent (Hold it together):

1 banana for 1 egg
1/4 cup apple sauce for one egg
1 tablespoon of ground flax seeds mixed with 2 to 3 tablespoons of hot water – allow thickening and cooling then use.

As a Leavening agent (Help it rise):

1-1/2 tablespoons vegetable oil mixed with 1-1/2 tablespoons water and 1 teaspoon baking powder per egg.

Wheat-free (and gluten-free) flours:

Rice flour is the easiest and cheapest flour to use as it is found is almost every supermarket. You generally substitute cup for cup in recipes. Other flours include; tapioca starch, potato starch and potato flour.

All-purpose flour mix

4-1/2 cups White Rice Flour
1-1/2 cups Potato Starch (not potato flour)
3/4 cup Tapioca Flour (also called tapioca starch)

Cow’s Milk protein:

Dr Jennifer Barham-Floreani (B.App.Clin.Sci, Chiropractic) talks extensively about pasteurised milk’s allergic nature and its effects on infants when introduced too early. Her recommendation is to slowly introduce products with the protein between 12 – 18 months of age. She starts with Organic goat’s milk, moves into cheeses and yoghurts and then organic cow’s milk. I would highly recommend purchasing the e-book ‘Which Foods When’ from her website for $7.95 (This is an excerpt from her book ‘Well Adjusted Babies’)

Soy, rice, potato, almond, oat and coconut milks are all possible substitutes for cow’s milk. These are all readily available in supermarkets especially organic varieties. If you aren’t dealing with a soy allergy, soy milk is a good option because it has similar amounts of nutrients to cow’s milk.

References

www.eatingwithfoodallergies.com

Dr Jennifer Barham-Floreani (B.App.Clin.Sci, Chiropractic), Well Adjusted Babies: Your complete guide to pregnancy, birth, babies and beyond, Which Foods When, Chapter 22: Page 523-565.

Tagged , , , , , , , , , , , ,