Tag Archives: Bubba Choo

It’s hot hot hot… Cool down with some summer Popsicles

Below are some super easy Popsicle recipes to get you and the kids through summer. I must admit they are my healthy treat at the end of the day when I’m craving something sweet. You can use any type of yoghurt, reduce fat or flavoured. I tend to have jalna organic natural or bush honey in my fridge. Also leftover mixture is really just a smoothy. Enjoy!

Mango
11/2 cups (420g) of yoghurt. Now I use Jalna’s organic yogurt with bush honey. You can use anything from vanilla to natural.
1/2 cup (125ml) of milk
1 mango. I scrap out all the flesh from the cheeks and around and off the seed.
1/4 cup (60ml) of light agave syrup.

Place into a blender and blend until smooth.
Let the mixture sit for a few minutes to get the bubbles out.
Pour into Popsicle moulds and freeze until solid.

Strawberry
2 cups of yoghurt (560g)
1/2 cup (160g) of sugar free strawberry jam
1/2cup (65g) of finely sliced fresh strawberries

Whisk together the yoghurt and Jam. Stir through the sliced strawberries.
Pour into Popsicle moulds and freeze until solid.

Banana Maple
1cup (280g) yoghurt
1/2 cup (125ml) milk
1/4 cup (60ml) maple syrup
1 banana

Place all ingredients into a blender and blend until smooth.
Pour into Popsicle moulds and freeze until solid.

20140119-113213.jpg

Advertisement
Tagged , , , , , , , , , , , , , , ,

Pea, Chickpea & Quinoa Fritters

Happy New Year! Wow. 2013 was quite challenging (more like First World problems challenging) – nothing in comparison to what I am sure millions of parents around the globe have to deal with every day when it comes to raising their children. I am feeling very lucky these days, too many bad news stories from hanging out with my friends that work for DOCS. We are still very blessed with our healthy little girl Rafaela, She will be two in 8 days! She has an amazing little personality these days. I have to say the most adorable thing is seeing her wiggle her bum when she is free of her nappy before her bath. It washes away the countless tantrums and leg clinging episodes we battle with throughout the day. Oh the joy!

What I do love about her age now is she can help me cook. She is so excited stirring and pounding pizza dough. I hope we can keep up the enthusiasm. Today she helped me make the fritters below and all she could say was “Oh wow” and “Yummy in my tummy”. Then she gobbled down three of them for dinner. I’m not quite sure that she understood, that what she was eating was what she helped me make. Regardless, she was eating a dinner littered with green, which was amazing enough.

I’m back at work full-time now, therefore the opportunity to really consider our meals has been limited and hence the lack of posts. Though the recent festive season (I hosted our family Christmas dinner) really ignited my love for menu planning, cooking and inventing! I’ve enjoyed an extra week off at work and armed with a few new cookbooks for Christmas, it’s game on!

As with the start of every New Year, I try to turn over a ‘new leaf’ in my eating habits and inflict these on to the hubby. This usually consists of weird grains and vegetables. He hates peas and isn’t really a fan of quinoa. We started off using quinoa instead of breadcrumbs on schnitzels. It was merely quinoa (cooked in vegetable stock) seasoned with salt, pepper and some sage on the chicken. Add a squeeze of lemon before serving with mash and greens. They worked out fantastic but didn’t photograph well. It was a really great way to pack in some extra protein, fibre and iron. With a great deal of left over quinoa, I started to look for different ways to use it and adapted this Donna Hay recipe.  As I said, Rafaela hoovered these down, which makes me so happy! Andrew also went back for more… did I mention he hates peas! We both agreed that they tasted like Chinese fried rice. Random indeed!

I served them up with a green salad and a little bit of tomato relish (store bought) and can be eaten warm or cold. This recipe makes around 14 (I did lose 2 fritters during the process of cooking – Try using a spatula and spoon to flip them)

Pea, Chickpea & Quinoa Fritters

2 cups (250g) of cooked peas (Use wholefood organic peas)

1 x 450g can of chickpeas (Use organic chickpeas)

2 cups of cooked white quinoa

1 carrot, peeled and grated

1 spring onion, finely sliced

2 eggs

2 tablespoons of rice flour

2 tablespoons of vegetable or sunflower oil (more for cooking)

Sprinkle of ground cumin

Sea Salt and Cracked Pepper for seasoning.

Method

Roughly mash the peas and blend the chickpeas in a food processor. Place into a bowl with the quinoa, eggs, rice flour, oil, carrot, cumin and season with Salt & Pepper. Mix well to combine and sit aside.

Line a baking tray with non –stick baking paper and start to form ¼ cupful’s of the mixture in to thin patties. Lay the patties on the tray to set before shallow frying.

Heat the extra oil in a non-stick frypan over medium heat and cook, in batches, for 3-4minutes each side until golden. Drain on absorbent paper. The fritters can be served warm or cold.

Image

Rafaela cooking up a storm!

Image

Golden Pea, Chickpea and Quinoa Fritters

Tagged , , , , , , , , , , , , ,

Pumpkin, Zucchini & Fetta Mini Quiches

What glorious weather we’ve been having lately. Rafaela is taking full advantage of it too. She is much more nimble on her feet and one of her favourite words is ‘Outside’. The great thing is that she knows she has to have her shoes and hat on before she can go out there which is a great little habit! When the weather is great we try and spend as much time outside getting some much needed vitamin D. So we have been considering what makes a good ‘movable feast’. We had a somewhat impromptu picnic today with the family and we made crispy tofu rice paper rolls. Really straightforward… but not quite bubbachoo friendly right now, but great for your bigger kids!

Another great ‘movable feast’ item is the mini quiche. It’s also a great way to use up leftovers and hide vegetables, which is my new task. Therefore this recipe is totally interchangeable with a number of tasty combinations. Think ham & cheese, mushroom, spinach & fetta, corn etc.

Rafaela seems to have regained her true ‘Hunter’ appetite. She is currently well (aside from a weird rash). No congestion and no teething. Outside of just eating pasta she hasn’t been very adventurous, though she is starting to show a need for independence and eating by herself. She has the coordination down pat, just can’t work out how to get the food on the fork or spoon, I’m sure we will have some kind of stabbing cutlery injury any day now.

Enjoy!

Ingredients (Makes 12+)

1 Zucchini grated

½ Butternut Pumpkin, peeled & cubed.

½ cup of Cheese (Try Grated Gruyere, Cheddar or Fetta)

3 – 4 Eggs

½ cup Milk or Pouring Cream

Fresh or dried Chives, finely chopped.

1-2 sheets of Puff Pastry

12 hole cupcake tray

Salt & Pepper for seasoning

Method:

Pre-heat oven to 180 degrees, toss the cubed pumpkin with a little splash of olive oil and salt & pepper.  Spread the pumpkin on to a tray lined with non-stick baking paper and roast in the oven for 20-25min until cooked, remove from the oven and cool. Prepare the cupcake tray with a light brushing of olive oil. Defrost the puff pastry and cut out enough rounds to line the holes of the tray. They do not need to line the entire cup. If you want to be a bit more health conscious or frugal with the pastry then you need just enough to make a little cup.

Place the zucchini in a small fry pan and cook gently for 2 minutes, remove from the heat and cool. Prepare egg mixture by whisking eggs and milk together. Then lightly season with salt & pepper.  I like to do this in a jug so you can easily pour the mixture into the individual cups

Fill up the pastry cups with pumpkin (2-3 cubes per cup), zucchini, cheese and chives. At this stage you can add any additional ingredients (Little ham or bacon is nice) evenly fill each cup with enough egg mixture to cover the pastry or to just the lip of the pastry.

Place the trap into a 180 degree preheated oven and cook for 25-30min until the pastry is golden and puffed and the filling is firm.

To freeze, make sure that they are completely cooled first. To reheat, wrap them in foil and place back into the oven. Adjust timing based on thawed or frozen.

A Moveable Feast - Pumpkin, Zucchini & Fetta  Mini Quiches

A Moveable Feast – Pumpkin, Zucchini & Fetta Mini Quiches

Tagged , , , , , , , , , , , , , , , , , ,

Turkey Meatballs… Gobble Gobble

Turkey mince is so affordable; I remembered how I raved about it over the festive season when Turkey was on my mind. It’s the ‘other less fatty white meat’ I also have the quote Seinfeld when I think Turkey… ‘It makes you sleepy’ great for kid’s right! It is the amino acid tryptophan that research suggests in large amounts can make you sleepy. It also produces serotonin that helps strengthen the immune system.  Regardless, it was half the price of Chicken mince and we haven’t had that much luck with chicken lately.

I found a great recipe from a kitchen queen – Nigella, which I adapted purely because I never have celery in the fridge, I always have carrots! Much like patties, burgers rissoles; meatballs can be a combination of anything with a few binders. The trick is to not over work the mixture as it can make them too dense.

You can serve these meatballs with pasta, mash potato, polenta, couscous, steamed vegies or salad. You can even serve them as finger foods for your next dinner party, because we all have time for that!

Sauce

1 onion, peeled

2 x Garlic Cloves

1 celery rib or carrot

1 teaspoon of dried Thyme

2 x 400g of canned tomatoes or passata

Water (fill up two of the tomato cans)

1 teaspoon of sugar

Sea Salt & Cracked Pepper

Meatballs

400g of Turkey Mince

1 x Egg

3 x Tablespoons of breadcrumbs

3 x Tablespoons of grated parmesan cheese

1 teaspoon of Worcestershire sauce

½ teaspoon of dried thyme

Salt to taste.

Method

Puree the onion, celery and carrot in a food processor. Reserve ¼ of the puree in a bowl for the meatballs.

Heat oil in a large skillet over medium heat. Reduce the heat to low and add vegetable puree and thyme, and cook for about 5 -10min.

Add tomatoes, water, sugar, salt & pepper. Bring to a gentle boil then reduce to a simmer and let cook while prepping the meatballs.

Add all meatball ingredients to reserved vegetable puree. Mix gently to combine; avoid over mixing to prevent the meatballs from being leaden and heavy.

Form mixture into about 50 meatballs, about the size of a heaped teaspoon. Once all the meatballs are formed, add them to the simmering sauce (Pushing them down to have a light covering of sauce) Continue to simmer 30 minutes, or until the meatballs are cooked through.

Enjoy! Rafaela does…

Turkey Meatballs in Tomato Sauce.

Turkey Meatballs in Tomato Sauce.

Rafaela eating her meatballs. Gobble Gobble.

Rafaela eating her meatballs. Gobble Gobble.

Tagged , , , , , , , , , , , , , , , , ,

Do you need a super cheap and super easy meal that everyone will love? Try making a Cauliflower & Leek Soup aka CC Soup (Cheap & Cheerful). I found this recipe from Teresa Cutter, the healthy chef (my new bible)  My mother dropped over a huge head of cauliflower, which sent my fingers to do the typing, on the hunt for a recipe that would somewhat disguise the vegetable from Rafaela. (It’s not cheap because I got the cauliflower for free…) It’s cheap because it is cauliflower season and cheerful because all you need is a leek (also in season) and 4 cups of stock or water.  It is the ultimate one pot meal; all you need is a hand blender to make it thick and smooth.

In addition to these benefits, Cauliflower is rich in sulphur which works as an anti-inflammatory, support digestion and boost your immune system. Everything Rafaela needs at the moment!

Now we’ve made this soup a couple of times now and I thought I’d taken photos of the creation, but it must have been gobbled up before I could snap it!  I was really surprised at how much Rafaela really enjoyed it and so did the hubby!

Ingredients (Serves 4)

1 large cauliflower, washed
1 leek, washed and sliced
2 tablespoons olive oil
1 teaspoon salt
good pinch of white pepper
3 – 4 cups (750 – 1000 ml) water or organic vegetable or chicken stock.

Method

Slice the cauliflower finely into small bits. Sauté the leek in 2 tablespoons olive oil over a medium heat for 3 minutes until softened.
Add the cauliflower and 3 cups of water or stock plus a little sea salt and pepper. Cover + cook for 5 – 10 minutes until the cauliflower is tender and then remove from the heat.
Puree in the pot with either a hand blender (careful of hot splashes) or place into a blender with 1 to 2 more cups of water or stock, depending on the consistency you like.
Serve warm soup with your choice of grated Parmesan or cheddar.

Some additions include; Broccoli or Spinach or  1 x 400g of Cannellini beans (White Beans)

Hand Blending Soup

Teresa’s recipe also includes a drizzle of Parsley Oil just before eating. It does give the dish a fresh flavour and works on a number of other dishes such as salads and drizzled over chicken and fish. The recipe is as follows;

Parsley Oil
2 large bunches parsley, washed and dried
1/2 cup cold pressed olive oil, macadamia or walnut oil
Pinch of sea salt

 Combine parsley, oil and salt into a blender and process until smooth. Pour into a fine sieve and strain the oil from the solids. Drizzle over cauliflower soup just before eating.

Cauliflower and Leek Soup (aka CC Soup)

Tagged , , , , , , , , , , , , ,

Zucchini, corn, carrot and cheddar loaf

Wondering what to make for the kids lunch boxes this week? Why not try this Zucchini, corn, carrot and cheddar Loaf? I found this recipe on a recent trip to NZ. I had the chance to go through archived Donna Hay magazine in her IPad App and found this in a old Kids issue.We love a good loaf at home, however they are usually sweet ones. I made this loaf in about 10-15 minutes, this was the time that Rafaela sat down and ate her lunch. So it is very easy and very quick. We have a walking toddler on our hands now, so cooking can be quite acrobatic at the moment and I will say that kitchen looked like a bomb had hit it!

The original recipe calls for grated cheddar. I had a mexican cheese medley in the freezer and introduced a lone carrot sitting at the bottom of the vegetable tray. The texture is light and fluffy, yet dense enough to remain in tact if toasting or using as a sandwich. It is best served with some extra sliced cheese and tomato chutney.

Zucchini, corn, carrot and cheddar loaf

2 ½ cups self-raising flour

1 ½ cups grated cheddar cheese

1 cup grated zucchini

1 cup sweet corn kernels

1 cup of grated carrot

2 green onions (Scallions) sliced

2/3 cup Canola or Sunflower Oil

1 cup of Milk

2 eggs

Sea salt and cracked pepper

Cheddar and Tomato Chutney, to serve.

Method

Preheat oven to 180 degrees (350 F). Place the flour, grated cheese, zucchini, sweet corn and green onion in a bowl and mix to combine. Place the oil, milk, eggs, salt & pepper in a separate bowl and whisk to combine. Add the zucchini mixture and stir until well combined. Pour into a lightly greased 8cm x 22cm (1.75 litre capacity) loaf tin lined with non-stick baking paper. Bake for 55-60 minutes if until cooked when tested with a skewer. Serve with the cheese slices and chutney. Serves 8

Slice of the loaf

Slice of the loaf

Tagged , , , , , , , , , ,

Cheesy Polenta Slice

I must say juggling motherhood and working has taken its toll. Not to mention the sickness rotating through the household at the moment. Rafaela is the little outbreak monkey; bringing home all these random diseases and the constant runny nose. ‘Hand, foot and mouth disease’ what the hell? Sounds worse than it is…I would pride myself on being quite healthy, I have avoided countless bouts of the infamous man flu. However the combination of being exhausted and never fully recovering from one sickness to another is definitely making life that little bit more dramatic.

We’ve had some big changes of late. I went away for work for 5 days and Andrew played Mr Mum and Dad, he’s now decided number 2 addition to the family is on hold indefinitely. Ha!

Rafaela has sprouted a tonne of teeth, along with being sick, this has led to a fair few sleepless nights, vaporisers and a heap of Panadol. It has also been very challenging to get her to eat anything than puree and spaghetti. Nothing orange or green gets past her so we’ve had to get pretty creative these days. It has been a huge learning curve for us. Every meal these days seems to start with the refusal to sit in her high chair (this resembles planking) Then watching her (like a hawk) to take the first bite to then try for the second and it’s a blatant refusal.  We are then cleaning up countless bowls of food thrown across the room, arguing over the options in the freezer, to then release her from her chair and the screams that can only be described as her being tortured, to then have her just want to eat something from a packet. It is not uncommon for the whole family to be in tears by the end of this… and that was just breakfast.

Now, the little devil is walking! It has been a process as many mums and dads will know; starting with the shuffle across the furniture, then the two hand hold, then the one hand. We went from big steps to little more controlled steps and then we had the downward dog moves that took her from sitting to standing on her own. All amazing feats, and then last night in the corner of my eye I see her get into her tripod position, stand and then take off! She was practically running and on a mission to nowhere. She was just so excited to be moving. It was hilarious and charming all at once. So with all these changes, I am feeling the need to be as simplistic as possible. This leads me to the below recipe for Cheesy Polenta Slice. It is extremely easy to make, it just needs at least 25 minutes of your attention.

Ingrediants

1 cup of polenta
1 litre of water
3/4 cup of parmesan cheese
3/4 cup of a cheddar, tasty or mozzarella cheese
3 good pinches of dried oregano
Cracked pepper
Butter

Method

Bring the water to boil and slowly while whisking add the polenta. Reduce the heat and Continue to whisk the polenta for 10-15min so you don’t get any lumps. Remove from the heat and allow it to sit for 5 minutes. While it may look cooked it’s important to cook the polenta for close to 25min otherwise it will be heavy and grainy.

Add the cheese, oregano and pepper stir to combine.

Line a small rectangle baking tray (The silicon trays work a treat), smooth out the polenta into the tray and allow to set in the fridge for 30 minutes.

When ready slice up into fingers or use a cookie cutter to make fun shapes out of the polenta. Melt a dollop of butter in a non-stick pan and fry up the slices until golden brown.

Serve up with pasta sauces, fresh tomato salsa, or with roast veggies. You can also add cooked veggies to this dish before setting in the fridge, consider; pumpkin, carrot or zucchini

You can also freeze the polenta. I find it easier to package the individual portions in foil and then defrost in the fridge or microwave before crisping them up in some butter.

Cheesy Polenta cut using a cupcake cookie cutter

Cheesy Polenta cut using a cupcake cookie cutter

Tagged , , , , , , , , , , , , , ,

Teriyaki Salmon & Soba Noodles

I started cooking this dish during my pregnancy and it has now become a staple on the dinner menu. As a keen seafood eater, I was definitely disappointed to read about all the seafood products I could not consume, while pregnant. It was actually my downfall when I was desperately trying to keep my being pregnant a secret until we were past the ‘safe’ period. As soon as I unassumingly motioned away a prawn rice paper roll filled with bean sprouts, suspicion was rife! I am never one to turn down a rice paper roll, let alone food in general.

As you do when you fall pregnant, or as I did, was memorise the foods I had to avoid and start working on a meal plan. My body was going through so many physical changes, overnight I felt I couldn’t fit into my pants anymore. It was quickly dawning on me that I had to start eating better. Years of not eating breakfast, drinking too much and scoffing kebabs at all hours of the night/morning hadn’t done me any favours. So this monumental step change turned into 18 months of ‘dieting’ with a great deal of motivation. Trying to have and raise a healthy baby and losing the 20kgs I gained during my pregnancy. Now that is another post in itself!

So the experts say fish, are highly nutritious and should be consumed by adults and children, twice a week. Fish contain huge amounts of protein, are low in “bad” fats and contain Essential Fatty Acid (EFA’s) – Omega-3 fatty acids. The EFA’s in fish are not found in any other protein source.

The biggest implication when consuming a diet high in fish is the level of Mercury found in some. High levels of Mercury can cause developmental delays and it is recommended that pregnant women and children avoid those fish species high in Mercury. These include Shark (Flake), Ray, Swordfish, Barramundi, Gemfish, Orange Roughy, Ling and Southern Bluefin Tuna. Salmon on the other hand is a cold-water fish, low in Mercury and high in Omega 3’s.

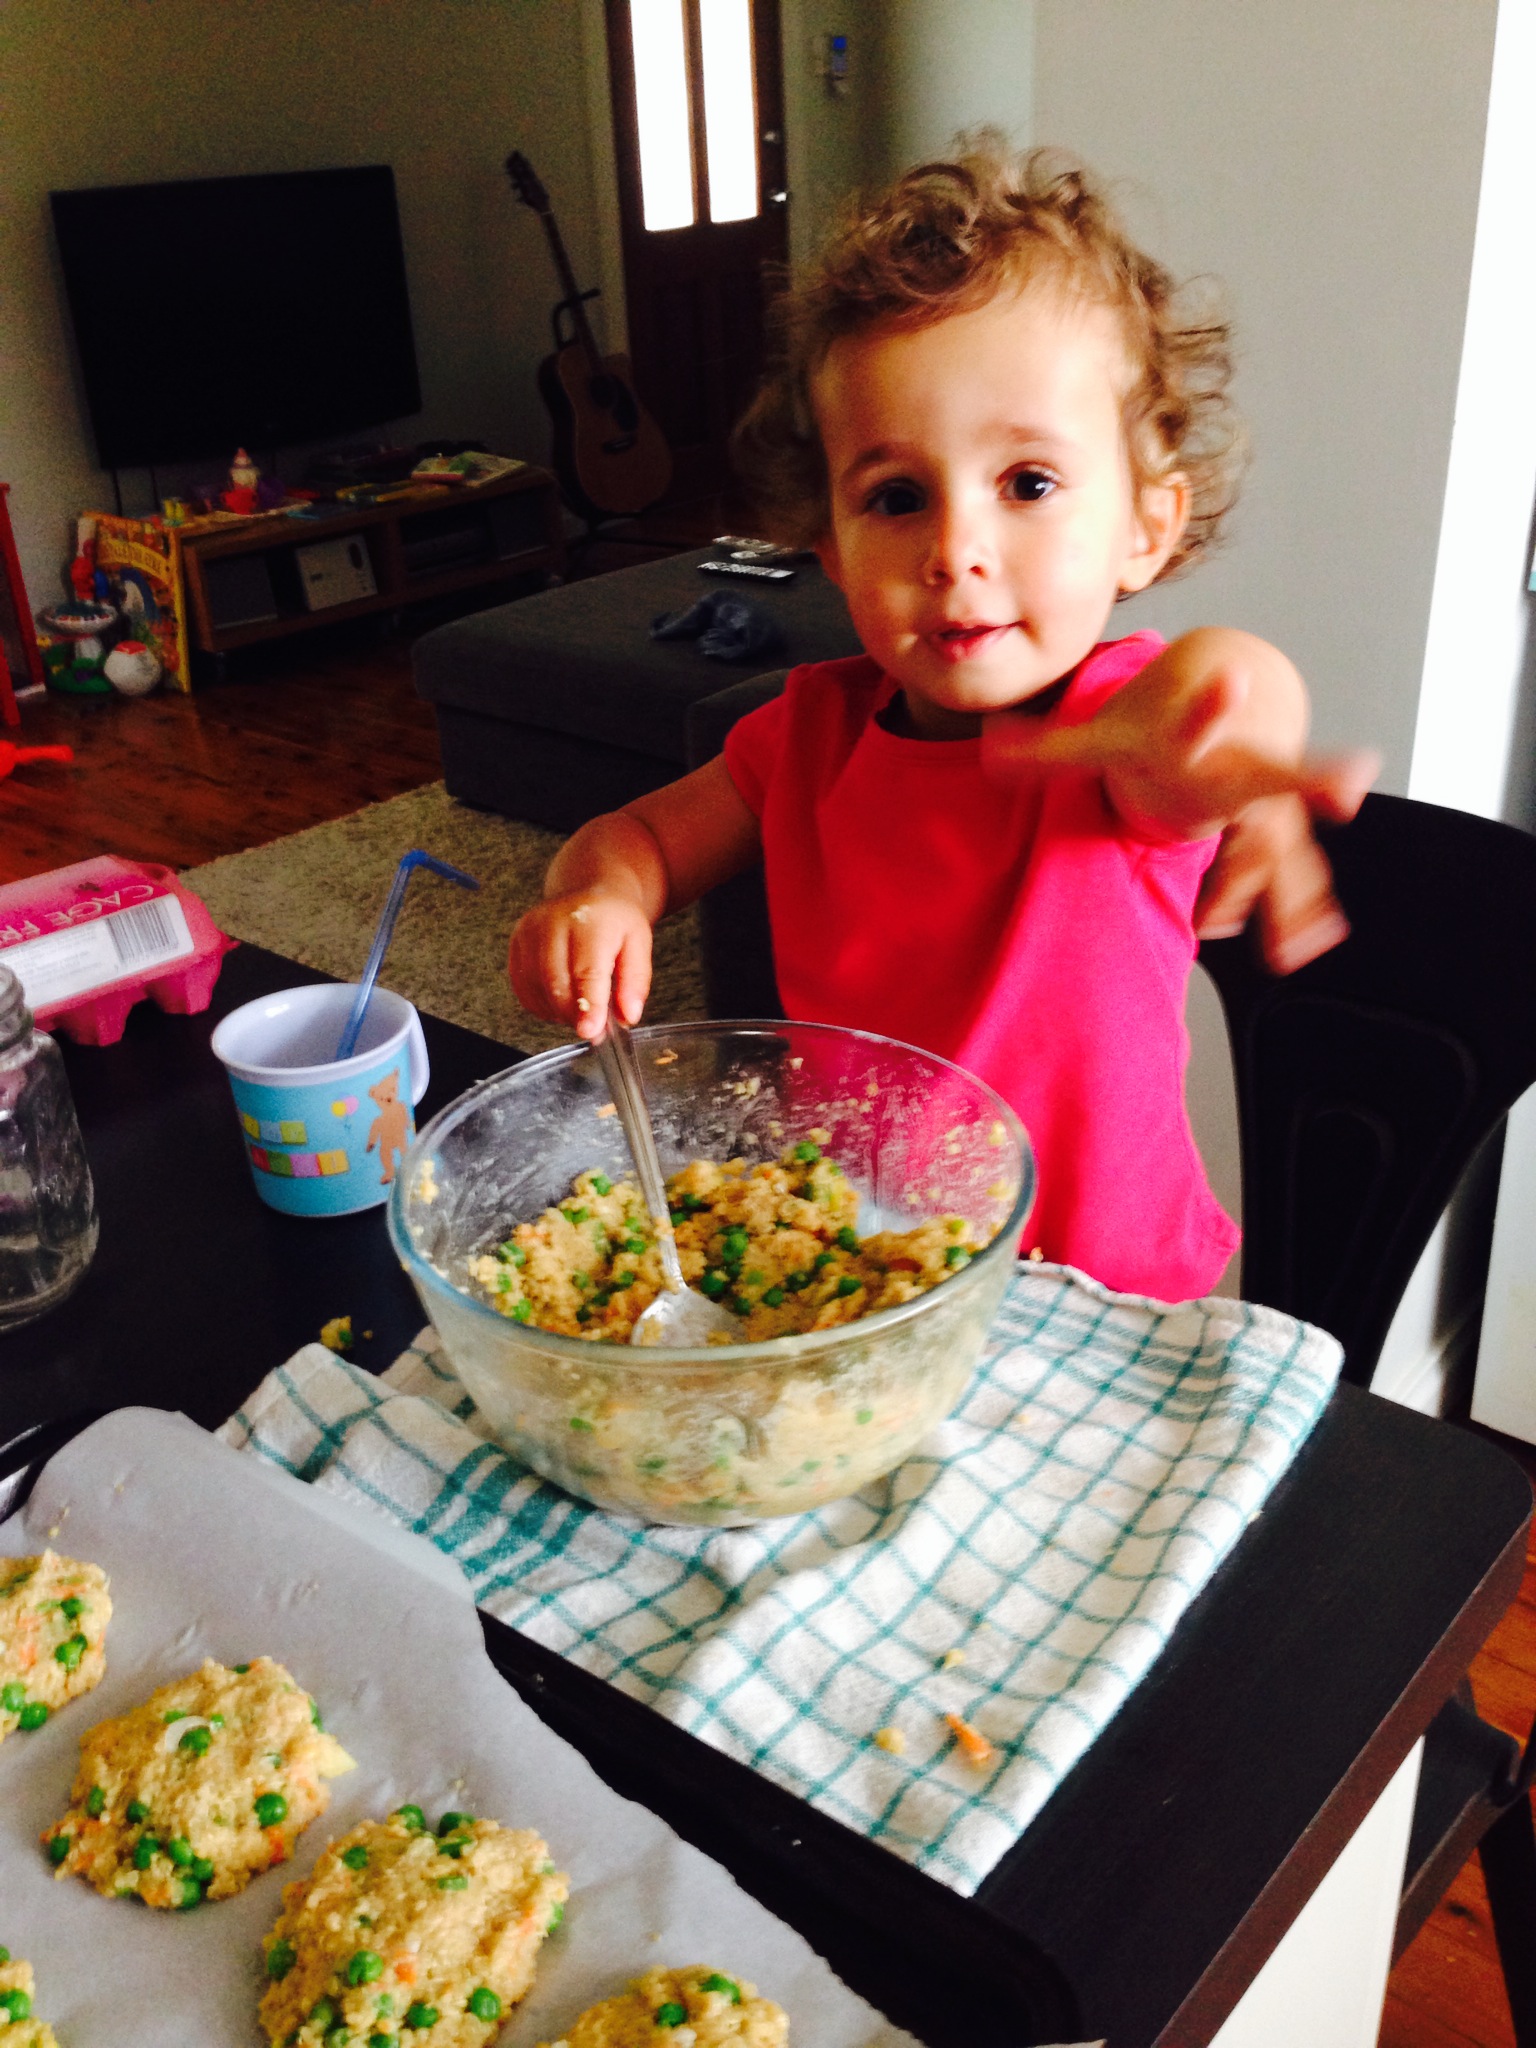
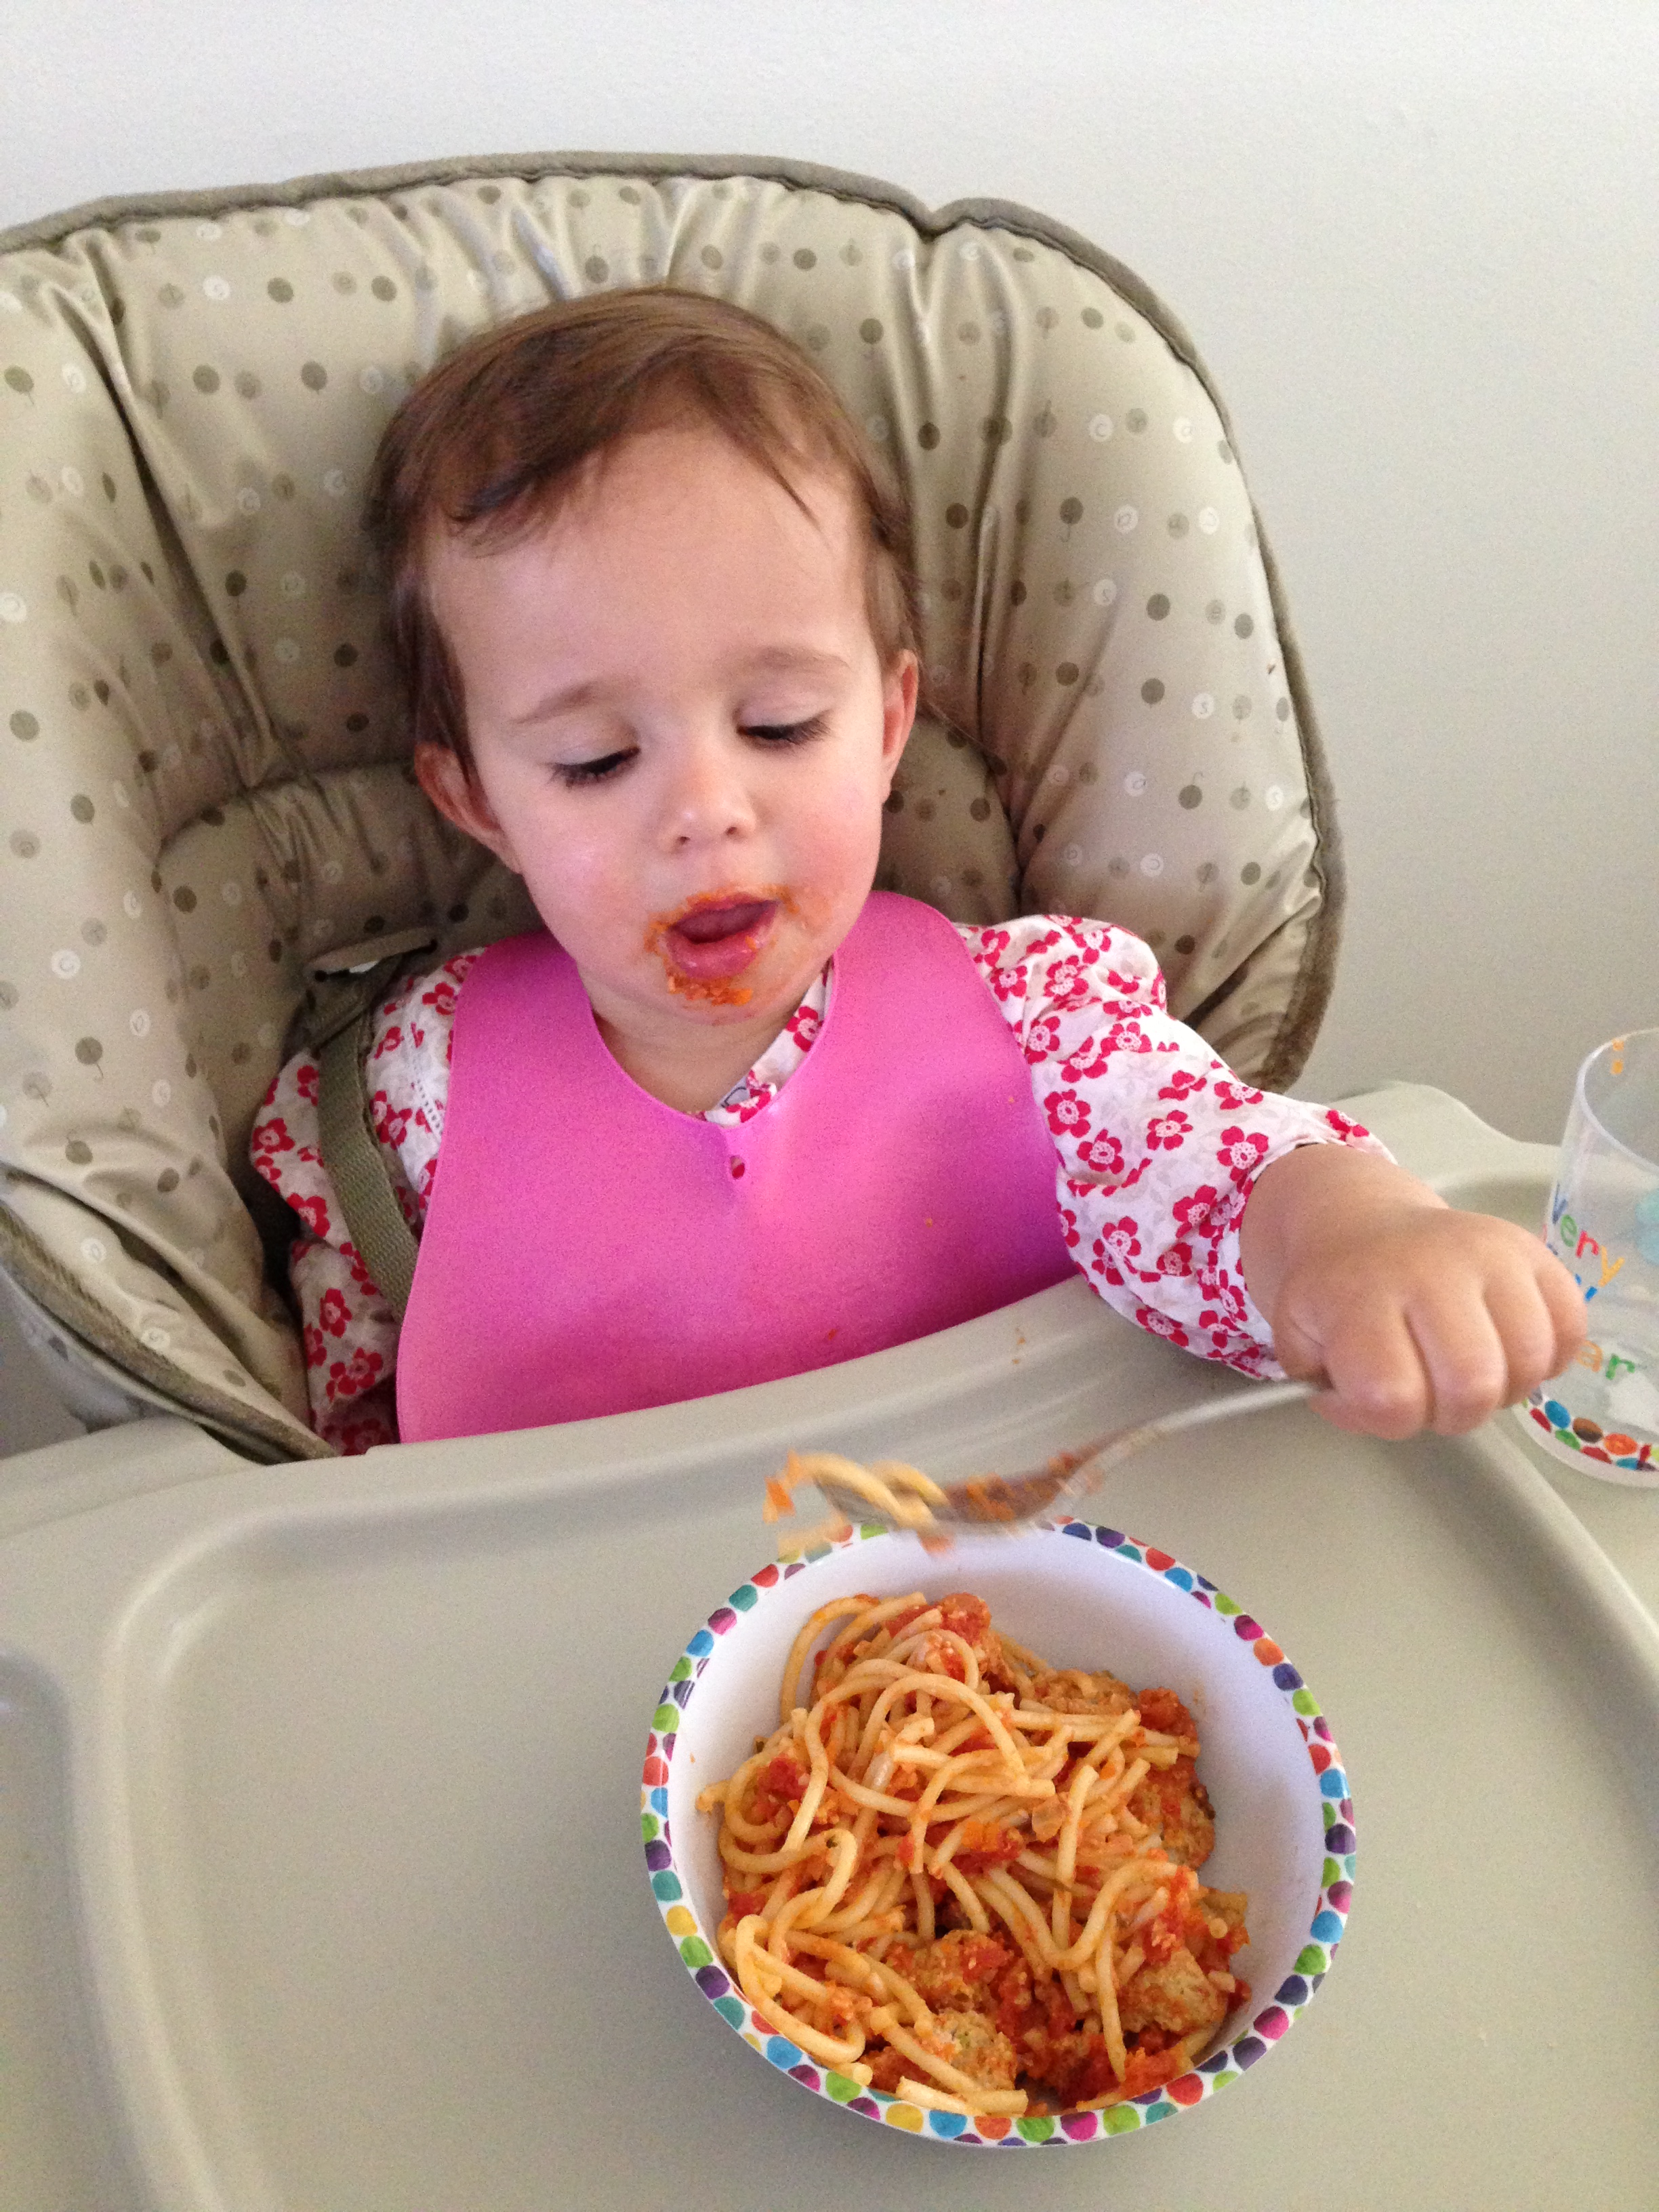
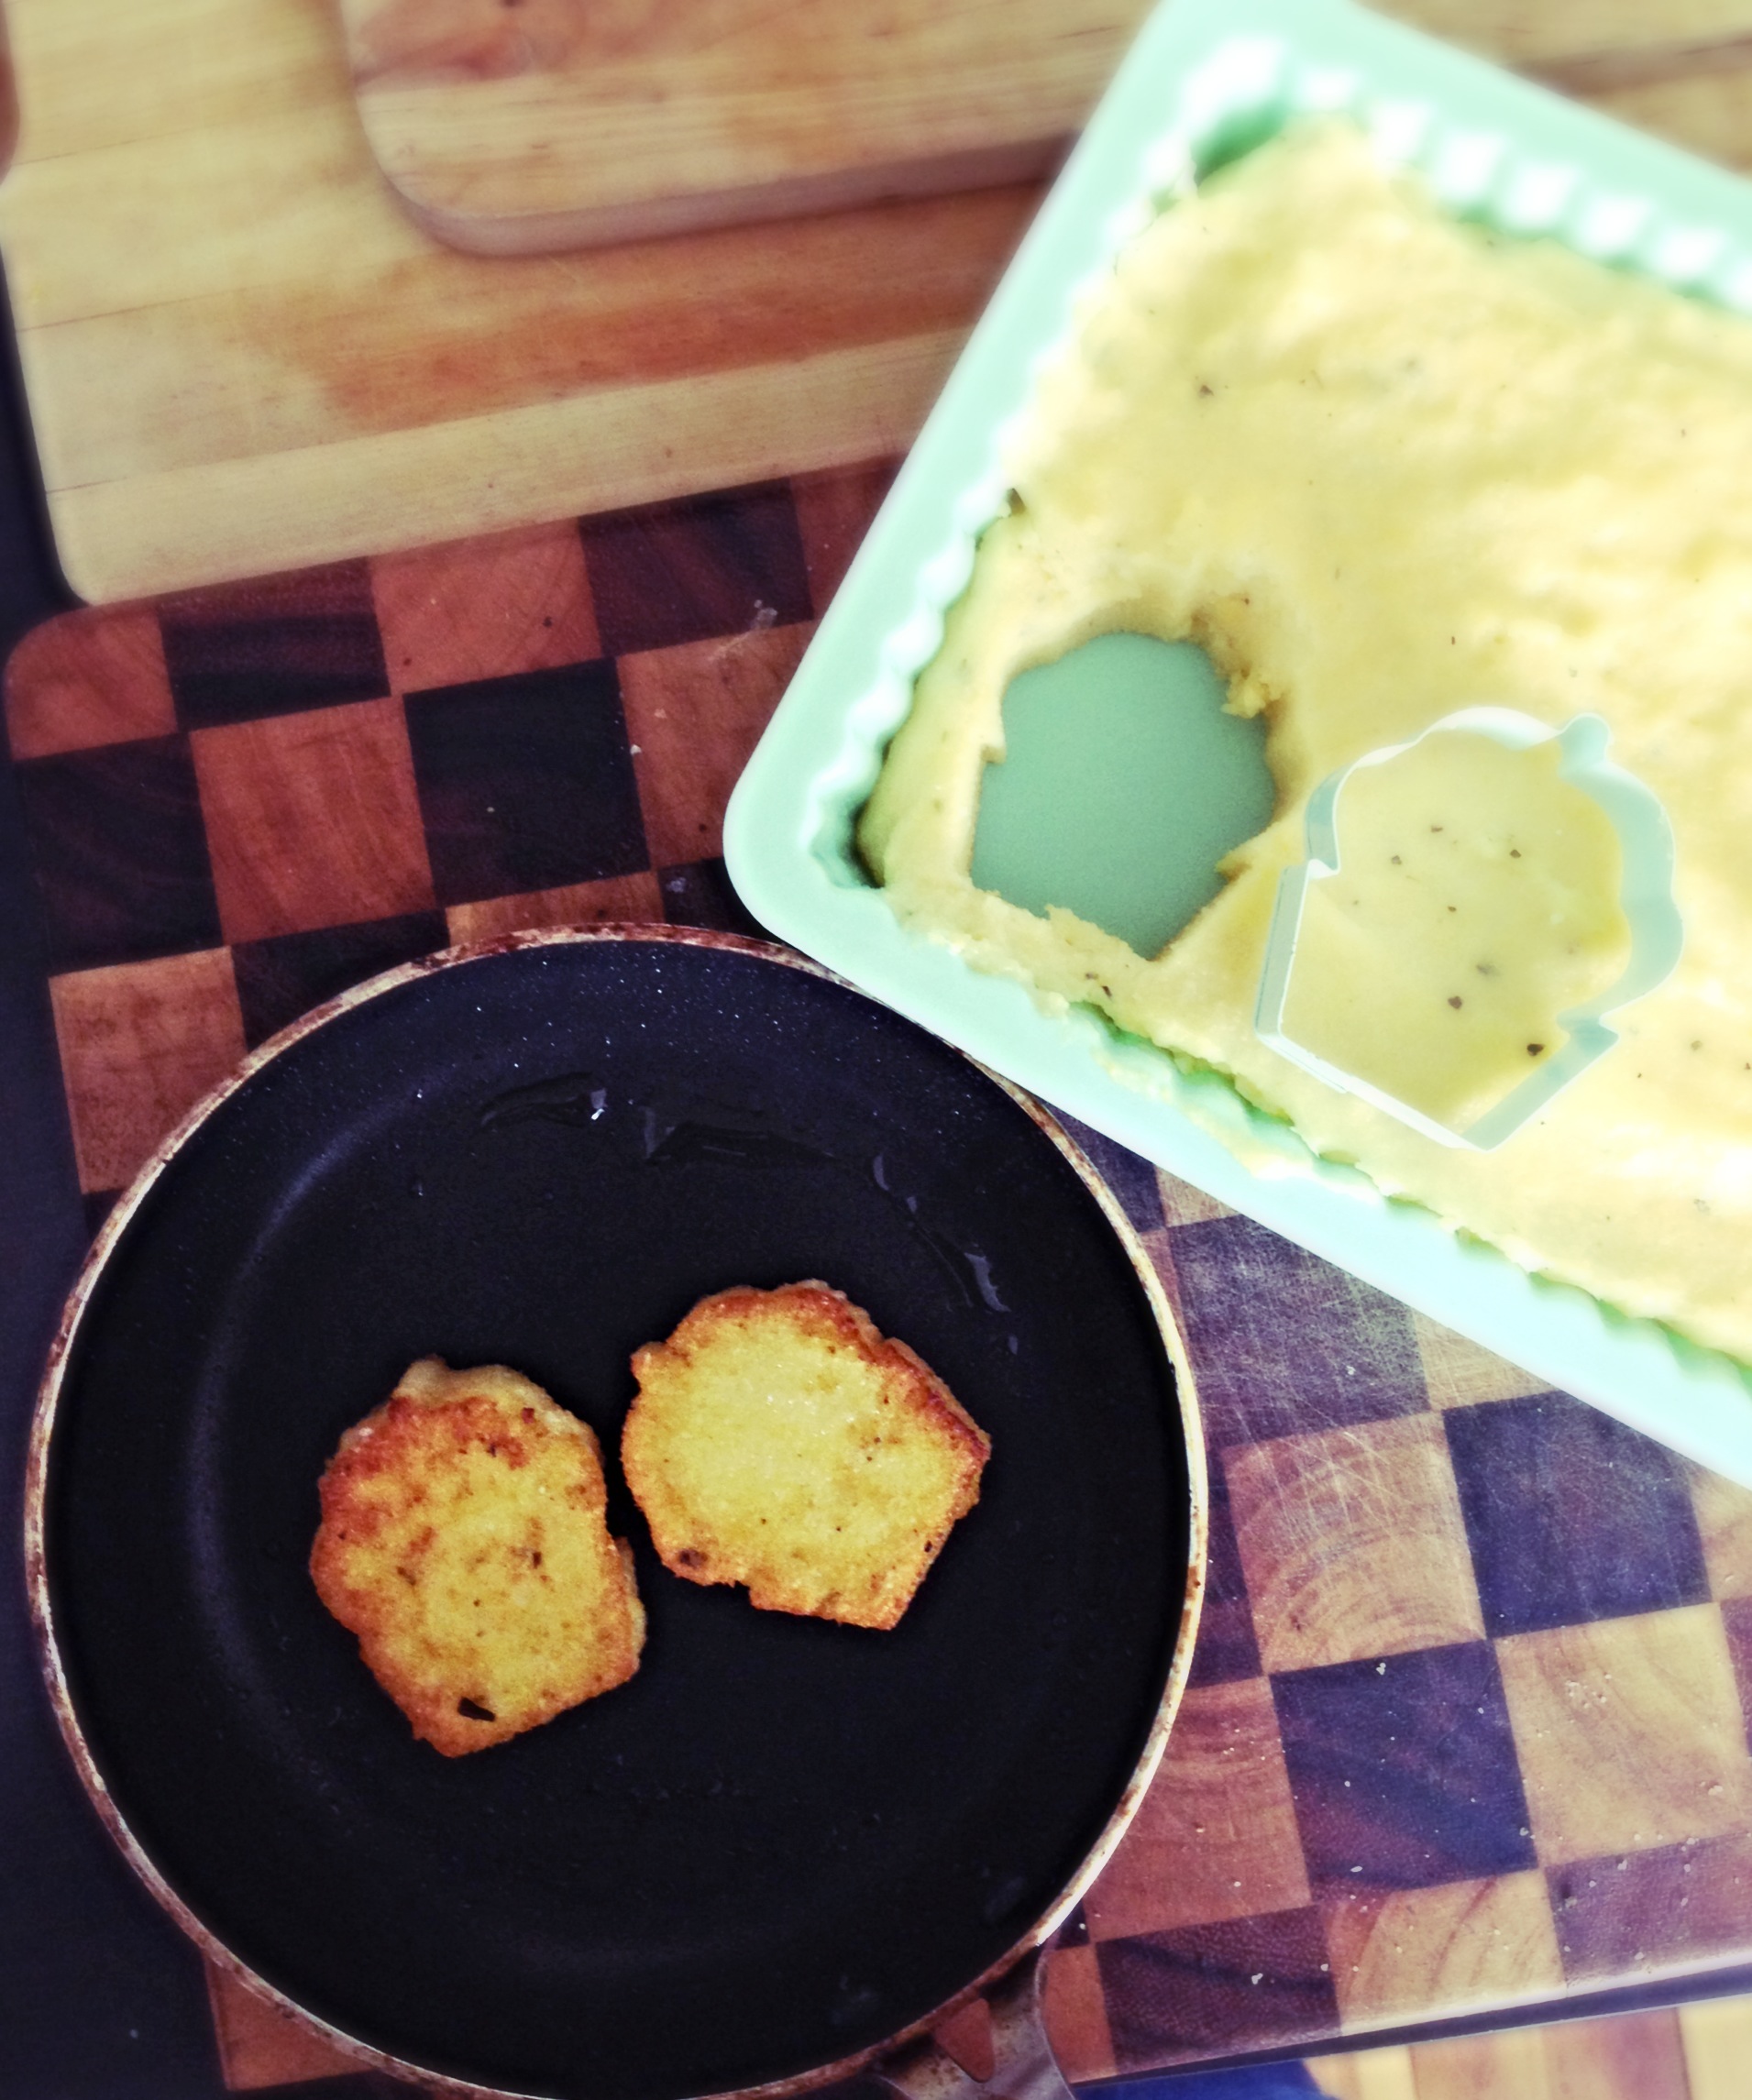
Rafaela is starting to enjoy it. I have made her Salmon fish cakes and this recipe also. She gobbles it up. Raf is pretty inspiring when she eats like this, especially since it is was such a battle to get Andrew to try it and now he loves it too. I have also served this to friends and family a couple of times and it has gone down a treat. The great thing about this dish is you can jazz it up with the side accompaniments like Avocado Wasabi and Pickled Ginger. The Wasabi paste and Japanese Pickled Ginger can be found in Coles, I tend to stock up when they are on sale. These ingredients are easily accessible and affordable.

You can marinate the Salmon a few different ways. You can make a teriyaki sauce from scratch or you can buy a pre-made marinade. Ayam makes a great tasting sauce, without too many nasties in it. This is a super speedy meal. So depending on your preparation time and pantry items, you could go either way. For Rafaela, I use an organic soy sauce, crushed organic ginger and some lemon juice to marinate her Salmon in.  Below are the recipes for both. Enjoy!

Teriyaki Sauce

60ml Soy Sauce

60ml Mirin (Japanese rice wine)*

Juice of 1/2 Lemon

1 teaspoon of crushed Ginger

Rafaela’s Teriyaki Sauce

(Based on a piece of salmon width and thickness of her palm, about 1inch wide and high)

2 tablespoons of Organic Tamari Soy Sauce

½ teaspoon of crushed Ginger

Splash of Lemon juice

Ingredients (serves 4)

4 x 180g skinless Salmon fillets

Teriyaki sauce as above or pre-made Ayam Teriyaki Marinade.

1 tablespoon of Sunflower oil

180g of Organic Soba Noodles (I use Hakubaku brand noodles, pack of 3 x 90g, found in Coles and Woolworths)

1 teaspoon of Sesame seeds

1 Spring Onion thinly sliced

Splash of Sesame oil

3 teaspoons of Wasabi paste, or to taste

2 Avocados, flesh scooped

Japanese pickled ginger

Method

Place the Salmon in a zip lock bag with the teriyaki sauce and leave it to marinate for as long as possible, overnight is great. Otherwise a minimum of 1hr is fine. Mix up the avocado and wasabi together and set aside.

Heat the sunflower oil in a large non-stick frypan over a medium heat. Remove the salmon from the bag, reserving any remaining marinade. Cook for 2-3 minutes each side until cooked but a little rare in the centre. Add the reserved marinade and allow to bubble for 1 minute. If you like your Salmon well cooked, then gently press on the thickest part with your finger, looking for spring back.

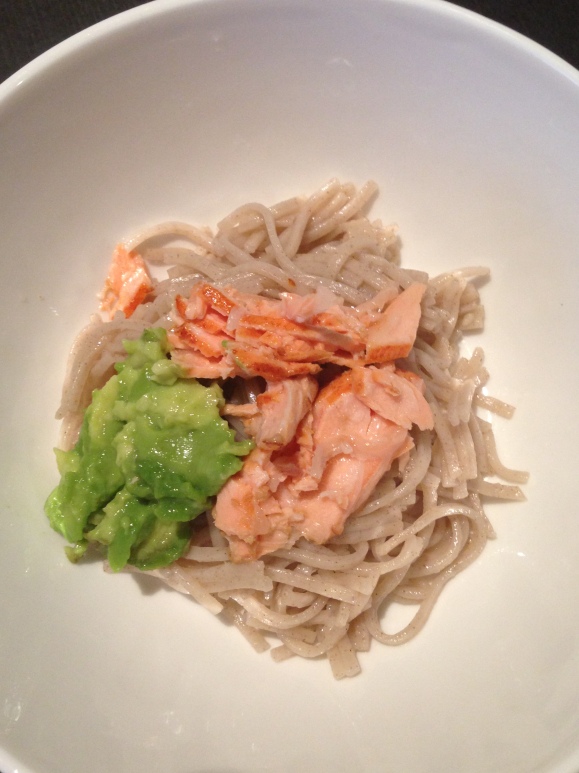
Boil water for noodles and cook according to the packet instructions. They usually take about 4 min. Once the noodles are cooked, strain and add a dash of sesame oil, sesame seeds and spring onions. Serve salmon with noodles and avocado wasabi. You can also add steamed vegetables such as; snow peas, broccolini or carrots.

For your baby, the obvious omits from this recipe, is the avocado wasabi and the spring onions. I tend to keep some mashed avocado aside to serve with some extra vegetables. If you are cautious about cooking oils, then consider cooking the salmon with some Coconut oil.

Rafaela's Version

Rafaela’s Version

Tagged , , , , , , , , , , , ,

We continue the series of all things “round” with this burger recipe. It is a combination of a couple of different recipes and I have also adapted it to include quinoa and some extra vegetables. Of course, the thing with burgers/patties/rissoles/cakes is you can really just add anything to the mix and you can somewhat hide ingredients that you little one is quite picky about.

It is pretty normal, or so I have read, for kids to be fussy with their food. Where one day they may have liked eating something and now they sit in protest if it even comes near the plate. Rafaela has so far done this with carrots. It was her favourite as we started on solids, then she wouldn’t have a bar of them and now she can’t get enough of carrot sticks. Also, I have always been pretty adamant about including something green into her meals, zucchini and spinach have been standard but broccoli has always needed to be mixed up in the dish. So beating the Broccoli ban has become a more difficult feat. Even cheese, such an easy snack and a great source of calcium, will only go down the hatch if it’s melted or mixed into her meals.

So, like I said, making a burger is a great way to disguise any undesirable foods and this is for all ages!  Two birds with one stone in this house. With these lamb burgers, I am able get Raff eating more vegies and my husband, Andrew, eating quinoa.

Again, these burgers are very freezer friendly and great for the whole family. They can be served with all your favourite trimmings in a bun or on their own with mash or salad on the side.

Ingredients (Makes 12 – 14 larger burgers and 10 + mini burgers)

500g lamb mince

1 cup quinoa, cooked (prep notes below)

1 egg

1 small Spanish onion (or ½ large), finely chopped.

1 medium zucchini, grated

1 small carrot, grated

1 garlic clove, minced

1 tablespoon of tomato paste

80g of fetta, crumbed.

2 tsp. cumin, ground

Fresh or dried oregano (roughly a teaspoon)

Pinch of pepper

Method

Place dry quinoa into a large fine mesh strainer and rinse with cold water.

Place rinsed quinoa into a small saucepan and cover with 2 cups cold water.

Bring the quinoa to a boil and turn down to a low simmer. Cook for 15 to 20 minutes.

Remove from heat, fluff with a fork and cool before mixing into lamb.

You can either finely chop or grate the vegetables or place them into a food processor for whiz.

In a large bowl combine lamb, quinoa, egg, onion garlic, vegetables and spices. Mix thoroughly until the mixture comes together and is smooth.

Prepare the lamb burgers by forming them into small balls, usually the width and of your child’s palm. Flatten down into a patty and place on baking paper.

Place a large non-stick sauté pan over high heat for 1 minute. Add the patties into the hot pan and brown on each side. Cover and cook on low heat for 10-12 minutes.

To plate the dish place the lamb burger with some fresh salad or fresh tomato puree. Top with a dollop of natural yogurt mixed with fresh mint or with some sweet potato mash.


Lamb Burgers

Lamb Quinoa Burgers

Tagged , , , , , , , , , ,

Baby Lentil Falafels & Garlic Yoghurt Sauce

Here is a simple recipe from Donna Hay’s latest cook book ‘Fresh & Light’. I have been looking for simple, healthy recipes that are freezer friendly and it has so many easy recipes that use fresh ingredients.

Patties, burgers, cakes, rissoles, meatballs… however you want to define food rolled up and then pan fried or baked is fine by me. All I can say is, these little round morsels of food are making a huge comeback in our household these days. It is the ultimate odds and ends recipe, using up odd vegetables and the staple mincemeat or that odd can of chickpeas from the pantry. So this is the start of the Palm series. I say palm as I make them all the size of Rafaela’s palm (the recommended portion size) for her and everyone really. So watch this space, over the coming weeks I will be focusing on all things…. Round!

Lentils are a great addition to your little bubba choo’s diet; High in protein, so great for Vegetarians. They also tend to take on the flavours that they are cooked with, Making them very versatile. You might want to start with Red lentils, they are slightly lower in fibre so they don’t produce as much gas as brown and green ones. They also cook to mushier consistency. Some suggestions for Lentil include; cook them in a homemade broth, mash them with vegetables, Use them as a thickener or throw them into a soup or casserole. They would require 20min of cooking. Always thoroughly rinse lentils as they are prone to debris.  This recipe calls for a can of brown lentils. These are readily available as all supermarkets. You can also get organic varieties, which I have used below.

These little Falafels are very tasty and are not deep fried. Like most falafels, they are best served with a sauce. So I’ve included the one from the original recipe. Rafaela gobbled these down, while smearing the yoghurt sauce all over her face. They freeze really well and are a great meal or snack option. These are perfect for the whole family. I found them a great finger food for parties.

Lentil Falafels (makes 12)

1 x 400g can brown organic lentils, drained and rinsed.

1 cup (70g) fresh breadcrumbs

100g Ricotta

1 egg

1 teaspoon ground cumin

½ coriander leaves

1 teaspoon of finely grated lemon rind

Sea salt and black pepper

Sunflower oil or macadamia nut oil for brushing

Garlic Yoghurt Sauce

1 cup thick plain yoghurt

2 garlic cloves crushed

2 tablespoons of Tahini paste

2 table spoons of lemon juice

2 table spoons of chopped chives

Method:

Preheat the oven to 220 degrees (450F). To make the garlic yoghurt sauce, combine the yoghurt, garlic, tahini, lemon juice and chives. Set aside.

Place the lentils, breadcrumbs ricotta, egg, cumin, coriander, lemon, salt and pepper in a food processor and pulse until the mixture is just combined. Shape 2 tablespoonful’s of the mixture into small patties and place on a baking tray lined with non-stick paper.  Brush the patties lightly with oil and bake for 10 minutes each side or until crisp.

Serve with Garlic Sauce. For infants try serving with couscous and vegetables. For older kids & adults, try serving with salad and pita bread.Image

Tagged , , , , , , , , , , , , , , , , , ,